How to Enhance the Security of Your Django Project in Production
Creating a Django application can be a convenient process since it is designed to be adaptable and expandable. This concept also applies to Django’s security features, which can assist you in getting your project ready for production. However, there are various methods to enhance the security of your project.
By splitting your settings, you can establish various arrangements depending on the environment. Utilizing .env file to configure environment variables or safeguard sensitive settings will prevent leakage of any information that could jeopardize your project. Additionally, modifying default URLs and other settings will enable you to evade typical security weaknesses.
Although it may initially require a significant amount of time, establishing an effective workflow will enable you to release your project without compromising either security or productivity.
This tutorial will guide you through implementing and configuring environment-based settings, .env, and Django’s built-in security settings to create a security-focused workflow for your Django project. By using these features together, your Django project will be prepared for various deployment options.
Requirements
Prior to starting this guide, you will require the items listed below:
- A pre-existing Django project. If you don’t already have one set up, you can use our How To Install Django and Set Up a Development Environment tutorial for setup. In that tutorial, you’ll use the testsite project from this tutorial as an example.For your Django project, you’ll also need Python 3 installed. You can install it by following Step 1 of our tutorial, How To Install Python 3 and Set Up a Programming Environment on an Ubuntu 20.04 Server.
- A Let’s Encrypt certificate. If you don’t already have one set up, you can use our How To Secure Nginx with Let’s Encrypt on Ubuntu 20.04 tutorial for setup.To use the Let’s Encrypt certificate, you’ll need Nginx installed. You can install it by following our tutorial How To Install Nginx on Ubuntu 20.04.
- This Django Development tutorial series is a great way to get familiar with Django’s file structure and its core settings.
Note
First, we need to reorganize Django’s settings.
First, to ensure the security of your Django project, you must navigate to the project directory and activate the virtual environment.
- cd django-apps
- . env/bin/activate
To begin, you will initially reorganize your settings.py file to cater to specific environments. This is a recommended approach when transferring a project across various environments such as development and production. By adopting this setup, you will minimize the need for extensive reconfiguration in different environments. Instead, you will utilize an environment variable to toggle between configurations, which will be covered in detail later in the tutorial.
Make a settings directory within the subdirectory of your project.
- mkdir testsite/testsite/settings
(According to the requirements, this tutorial utilizes testsite, but you have the option to substitute it with your project’s name.)
The current settings.py file will be substituted by this directory, and all the environment-specific settings will be stored in individual files within this folder.
In the folder for your new settings, make three Python files.
- cd testsite/testsite/settings
- touch base.py development.py production.py
The development.py file will include settings typically used while developing, while the production.py file will include settings meant for a production server. It is necessary to keep them separate as the production configuration will have settings that won’t function in a development environment, such as enforcing HTTPS, adding headers, and utilizing a production database.
The base.py file will include settings that both development.py and production.py will derive from. This is done to decrease repetition and maintain code organization. As a result, you can eliminate the settings.py file to avoid any confusion with Django.
When you are in the settings directory, use the following command to rename settings.py as base.py:
- mv ../settings.py base.py
You have just finished outlining your newly created directory for environment-based settings. However, your project is not yet familiar with this new configuration. Therefore, your next step will be to address this issue.
Step 2 involves the utilization of django-environ.
At present, Django is unaware of your new settings directory and its internal files. Therefore, in order to proceed with working on your environment-specific settings, you must configure Django to function with django-environ. django-environ is a necessary component that retrieves environment variables from a .env file. This implies that Django will examine a .env file located in your project’s main directory to determine the settings configuration to utilize.
To view the contents of the directory, navigate to the main folder of your project and run the ls command.
- cd ../../
- ls
Your project’s main folder should have files organized in this manner.
db.sqlite3 manage.py testsite
You should install django-environ.
- pip install django-environ
To utilize .env in Django, you must configure it. This can be achieved by making changes in two files: manage.py, for development purposes, and wsgi.py, for production purposes.
Begin by accessing manage.py for modification using nano or any text editor of your choice.
- nano manage.py
Please include the code that is highlighted.
import os
import sys
<^>import environ

environ.Env.read_env()<^>

def main():
    os.environ.setdefault('DJANGO_SETTINGS_MODULE', 'testsite.settings')

    try:
        from django.core.management import execute_from_command_line
    except ImportError as exc:
        raise ImportError(
            "Couldn't import Django. Are you sure it's installed and "
            "available on your PYTHONPATH environment variable? Did you "
            "forget to activate a virtual environment?"
        ) from exc
    execute_from_command_line(sys.argv)


if __name__ == '__main__':
    main()
To save and close manage.py, press CTRL+X, choose Y to save, and press ENTER.
To begin, open the file wsgi.py for editing.
- nano testsite/wsgi.py
Include the specified highlighted sentences.
import os
<^>import environ

environ.Env.read_env()<^>

from django.core.wsgi import get_wsgi_application

os.environ.setdefault('DJANGO_SETTINGS_MODULE', 'testsite.settings')

application = get_wsgi_application()
To save and close the file, you can use the key combination CTRL+X, followed by the letter Y to save, and finally press ENTER.
The code added to these files performs two tasks. Firstly, it instructs Django to always refer to the .env file whenever it runs, be it through manage.py for development or wsgi.py for production. If the .env file exists, Django will use the settings file that .env suggests; otherwise, it will default to the development configuration.
In the end, you will generate a .env file in the existing folder.
- nano .env
Now include the following code to establish the environment as development:
DJANGO_SETTINGS_MODULE="testsite.settings.development"
To save and close the file, use the keyboard shortcut CTRL+X, press Y to save, and finally press ENTER.
Note
So, by default, Django will utilize testsite.settings.development. However, if you modify DJANGO_SETTINGS_MODULE to testsite.settings.production, for instance, it will begin using your production setup. Afterward, you need to fill in the configurations for development.py and production.py in your settings.
Step 3 – Establishing Development and Production Configurations
Afterward, proceed to access your base.py and incorporate the necessary changes for each environment by creating the separate development.py and production.py files. It is essential to have your production database credentials readily accessible for the production.py file.
Note
To demonstrate the process, we will be using the Django project mentioned in the previous tutorial. In order to transfer the settings, we will start by accessing the development.py file.
- nano testsite/settings/development.py
Next, include the given code.
One possible paraphrase of “testsite/testsite/settings/development.py” could be:
– development.py file located within the testsite/settings directory on testsite.
import os
from .base import *

DEBUG = True

DATABASES = {
    'default': {
        'ENGINE': 'django.db.backends.sqlite3',
        'NAME': os.path.join(BASE_DIR, 'db.sqlite3'),
    }
}
To save and exit the file, press CTRL+X, followed by pressing Y to save, and finally hit ENTER.
Initially, you will bring in the content from base.py, which inherits the settings from that file. Subsequently, you will adjust the desired settings specifically for the development environment. These settings include DEBUG, which should be set to True during development, but not in production; and DATABASES, which should be a local database instead of a production database. For development purposes, you will be utilizing an SQLite database.
Note
Afterwards, you will make additions to production.py. Access the file by utilizing the given command:
- nano testsite/settings/production.py
Next, include the subsequent code. The final output will resemble development.py; however, it will have an altered database configuration and DEBUG will be deactivated.
import os
from .base import *
import environ

env = environ.Env()
environ.Env.read_env()

DEBUG = False

ALLOWED_HOSTS = []

DATABASES = {
    'default': {
        'ENGINE': env('SQL_ENGINE', default='django.db.backends.sqlite3'),
        'NAME': env('SQL_DATABASE', default=os.path.join(BASE_DIR, 'db.sqlite3')),
        'USER': env('SQL_USER', default='user'),
        'PASSWORD': env('SQL_PASSWORD', default='password'),
        'HOST': env('SQL_HOST', default='localhost'),
        'PORT': env('SQL_PORT', default=''),
    }
}
To save and close the file, simply use the keyboard shortcut CTRL+X, press Y to confirm saving, and finally hit ENTER.
You can configure each of the credentials in the provided example database configuration using .env, including default values. If you have already set up a database for your project’s production version, please use your own configuration instead of the provided example.
You have set up your project to use various settings according to the DJANGO_SETTINGS_MODULE in .env file. By using the provided example settings, when you choose to use production settings, DEBUG will be set to False, ALLOWED_HOSTS will be specified, and you will begin utilizing a different database that has already been configured on your server.
Step 4 – Utilizing Django’s Security Settings in Action
Django has built-in security settings that you can easily incorporate into your project. In the next phase, you will integrate security settings into your project which are crucial for any production-level project. These settings are meant to be implemented when your project is accessible to the public. It is advised not to use these settings in your development environment. Therefore, in this step, you will only apply these settings in the production.py configuration.
In general, these configurations will require the utilization of HTTPS for different web functionalities, like session cookies, CSRF cookies, transitioning from HTTP to HTTPS, and more. Hence, if you haven’t yet established a domain that directs to your server, it is advised to postpone this section. If you need help preparing your server for deployment, refer to the Conclusion section, where recommended articles on this topic can be found.
To begin, open the file named production.py.
- nano testsite/settings/production.py
Please incorporate the specified settings from the explanations provided into your file.
import os
from .base import *
import environ

env = environ.Env()
environ.Env.read_env()

DEBUG = False

ALLOWED_HOSTS = ['your_domain', 'www.your_domain']

DATABASES = {
    'default': {
        'ENGINE': env('SQL_ENGINE', default='django.db.backends.sqlite3'),
        'NAME': env('SQL_DATABASE', default=os.path.join(BASE_DIR, 'db.sqlite3')),
        'USER': env('SQL_USER', default='user'),
        'PASSWORD': env('SQL_PASSWORD', default='password'),
        'HOST': env('SQL_HOST', default='localhost'),
        'PORT': env('SQL_PORT', default=''),
    }
}

SECURE_SSL_REDIRECT = True

SESSION_COOKIE_SECURE = True

CSRF_COOKIE_SECURE = True

SECURE_BROWSER_XSS_FILTER = True
- ALLOWED_HOSTS is a list of strings that represent the host/domain names that your project can serve. This is a security measure to prevent an attacker from poisoning caches and DNS. Find more details about ALLOWED_HOSTS in the Django documentation.
- SECURE_SSL_REDIRECT redirects all HTTP requests to HTTPS (unless exempt). This means your project will always try to use an encrypted connection. You will need to have SSL configured on your server for this to work. Note that if you have Nginx or Apache configured to do this already, this setting will be redundant.
- SESSION_COOKIE_SECURE tells the browser that cookies can only be handled over HTTPS. This means cookies your project produces for activities, such as logins, will only work over an encrypted connection.
- CSRF_COOKIE_SECURE is the same as SESSION_COOKIE_SECURE but applies to your CSRF token. CSRF tokens protect against cross-site request forgery. Django CSRF protection does this by ensuring any forms submitted (for logins, signups, and so on) to your project were created by your project and not a third party.
- SECURE_BROWSER_XSS_FILTER sets the X-XSS-Protection: 1; mode=block header on all responses that do not already have it. This ensures third parties cannot inject scripts into your project. For example, if a user stores a script in your database using a public field, when that script is retrieved and displayed to other users it will not run.
To save and close the file, simply use the keyboard shortcut CTRL+X, confirm by pressing Y to save, and finally press ENTER.
If you’re interested in exploring further about the various security options offered by Django, you can refer to their documentation.
Warning
More settings options
These settings are meant to enable HTTP Strict Transport Security (HSTS), thereby ensuring that your entire website must always utilize SSL.
- SECURE_HSTS_SECONDS is the amount of time in seconds HSTS is set for. If you set this for an hour (in seconds), every time you visit a web page on your website, it tells your browser that for the next hour HTTPS is the only way you can visit the site. If during that hour you visit an insecure part of your website, the browser will show an error and the insecure page will be inaccessible.
- SECURE_HSTS_PRELOAD only works if SECURE_HSTS_SECONDS is set. This header instructs the browser to preload your site. This means that your website will be added to a hard-coded list, which is implemented in popular browsers, like Firefox and Chrome. This requires that your website is always encrypted. It is important to be careful with this header. If at anytime you decide not to use encryption for your project, it can take weeks to be manually removed from the HSTS preload list.
- SECURE_HSTS_INCLUDE_SUBDOMAINS applies the HSTS header to all subdomains. Enabling this header means that both your_domain and unsecure.your_domain will require encryption, even if unsecure.your_domain is not related to this Django project.
Warning
You need to take into account how these settings will function with your own Django project; in general, the configuration mentioned here provides a strong starting point for most Django projects. Afterwards, you will explore additional ways to use .env.
Step 5 involves utilizing django-environ to manage secret information.
In the last section of this tutorial, you will learn how to use django-environ effectively. This feature enables you to conceal specific details like your project’s SECRET_KEY or the login URL for the admin. It’s highly recommended, especially if you plan to share your code on platforms such as GitHub or GitLab, as it prevents these sensitive information from being exposed. Instead, when you set up your project for the first time on a local environment or a server, you can create a new .env file and specify those secret variables there.
In this section, you should focus on concealing your SECRET_KEY in order to proceed with your work.
Please open the .env file located in the main directory of your project.
- nano .env
Include the subsequent line, ensuring to substitute your_secret_key with your personal confidential strings.
DJANGO_SETTINGS_MODULE="testsite.settings.development"
SECRET_KEY="your_secret_key"
You can save and close the file by using the key combination CTRL+X, confirming to save by pressing Y, and then pressing ENTER.
Afterwards, proceed to open base.py.
- nano testsite/settings/base.py
Please modify the SECRET_KEY variable in the following manner:
. . .
<^>import environ

env = environ.Env()
environ.Env.read_env()<^>

SECRET_KEY = env('SECRET_KEY')
. . .
Note
To save and close the file, use the key combination CTRL+X. Press Y to save the changes and then ENTER. By doing this, your project will utilize the SECRET_KEY from the .env file.
Finally, to increase security, you can obfuscate your admin URL by appending a lengthy sequence of random characters. Instead of accessing your_domain/admin, you will now access your_domain/very_secret_url/admin. By doing this, it will be challenging for both automated bots and unknown individuals to discover your admin URL, thus reducing the risk of brute force attempts on your admin login.
Please reopen the .env file.
- nano .env
Please include a SECRET_ADMIN_URL variable.
DJANGO_SETTINGS_MODULE="testsite.settings.development"
SECRET_KEY="your_secret_key"
SECRET_ADMIN_URL="very_secret_url"
To save and close the file, simply press CTRL+X, choose to save by pressing Y, and finally press ENTER.
Now you need to instruct Django to conceal your admin URL using SECRET_ADMIN_URL.
- nano testsite/urls.py
Note
Modify the administrator URL in this way:
from django.contrib import admin
from django.urls import path
<^>import environ

env = environ.Env()
environ.Env.read_env()<^>

urlpatterns = [
    path(env('SECRET_ADMIN_URL') + '/admin/', admin.site.urls),
]
To save and close the file, simply press CTRL+X, followed by pressing Y to save, and finally press ENTER.
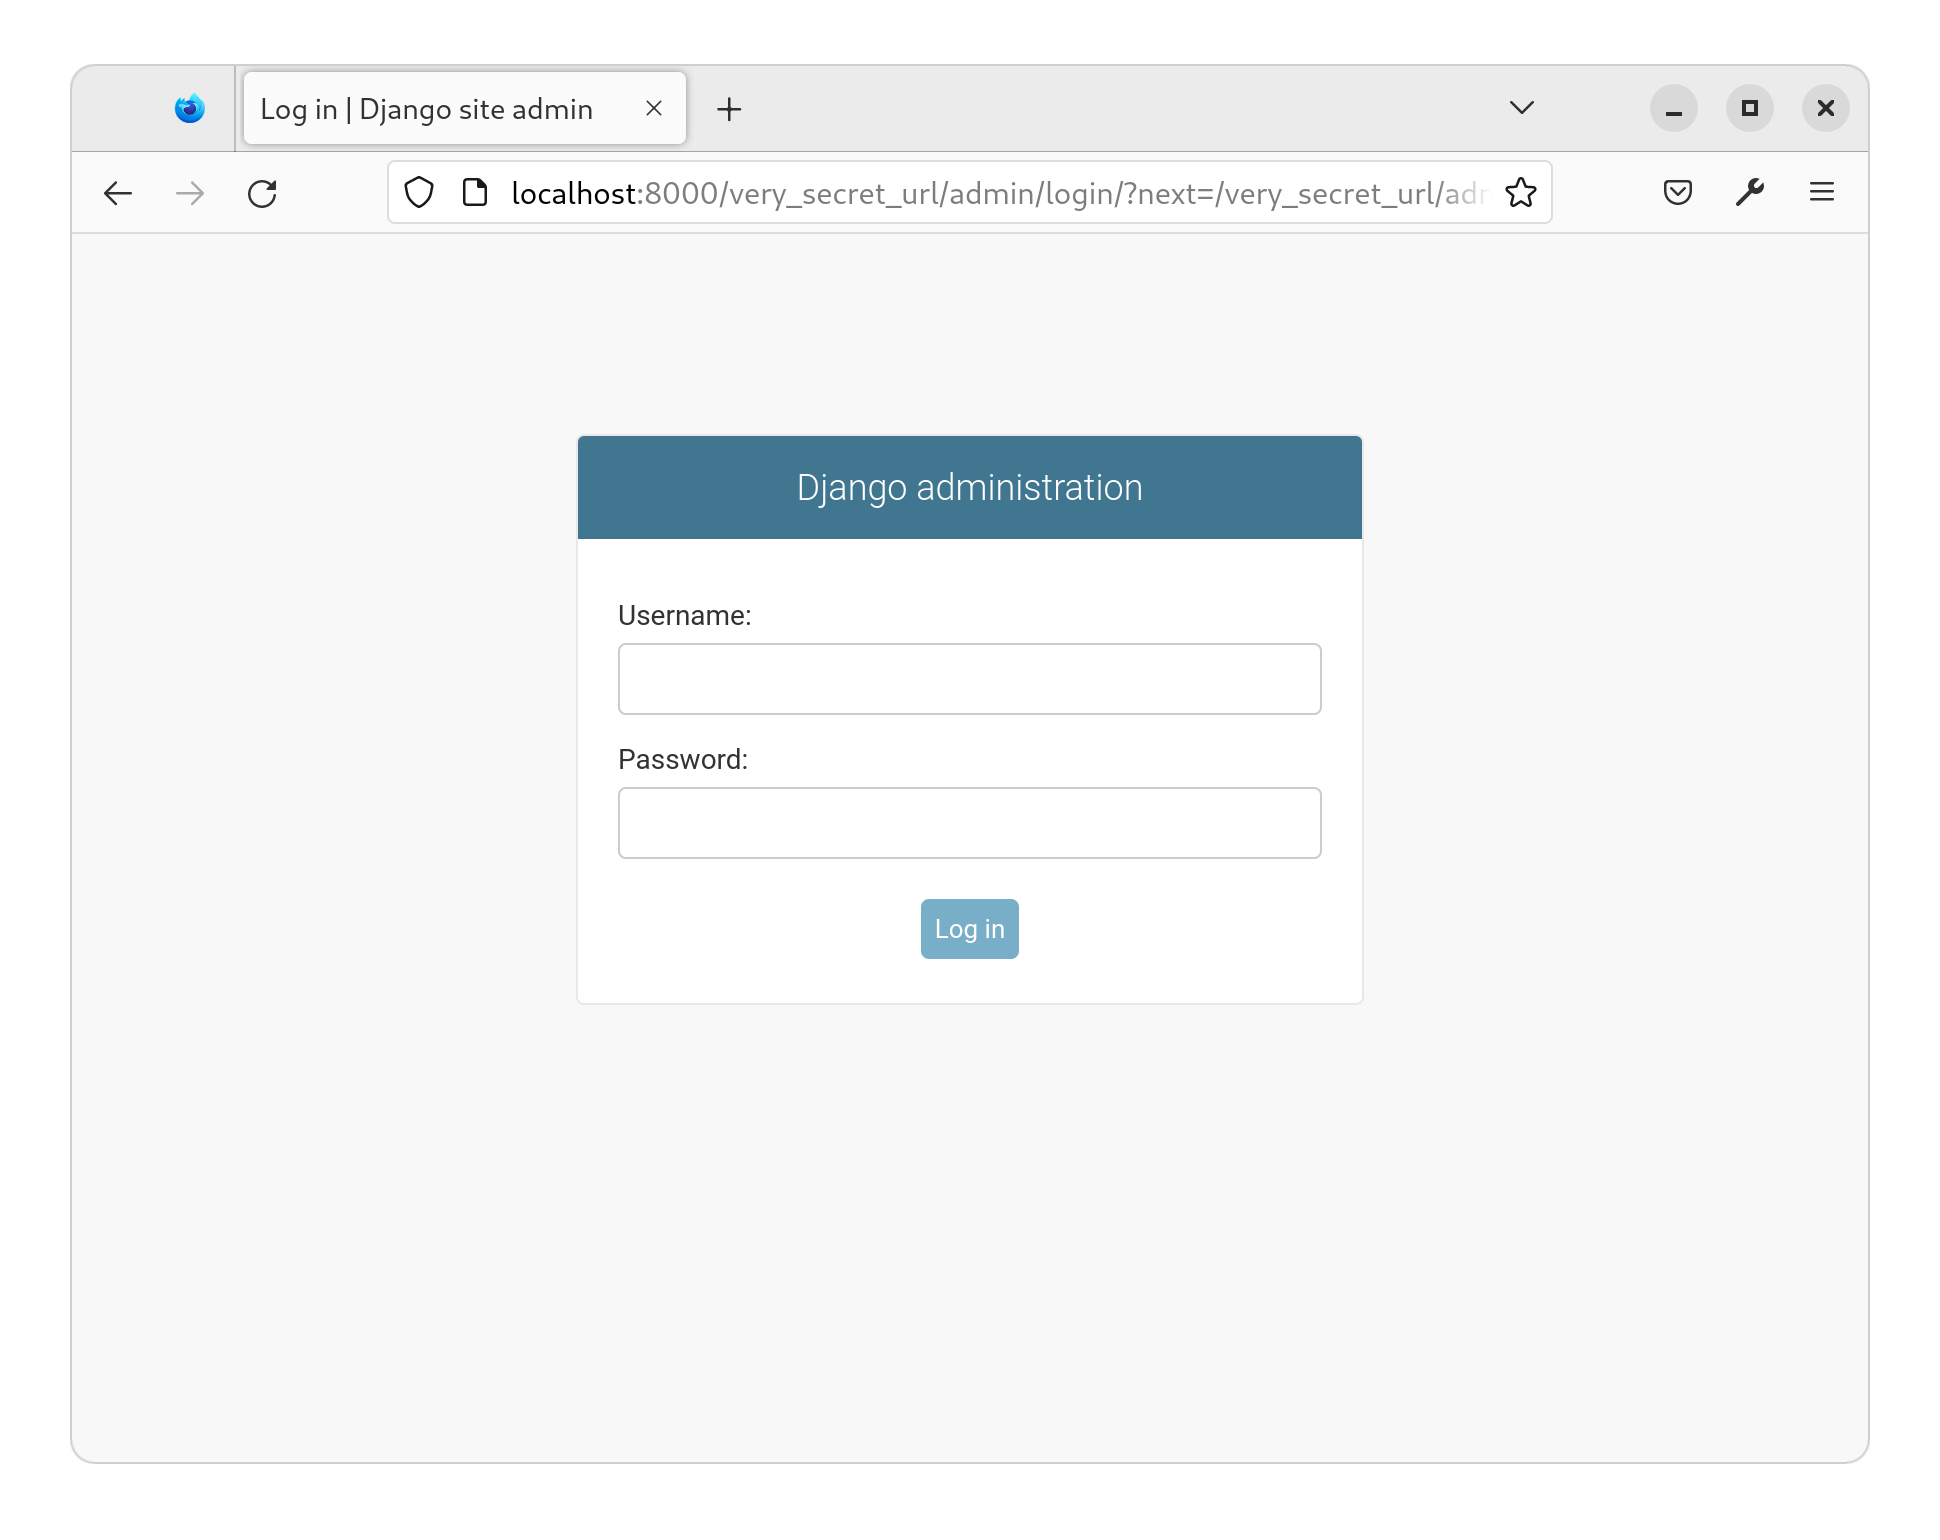
The admin login page can now be found at the URL /very_secret_url/admin/ instead of only /admin/.
In conclusion,
In this guide, you have successfully set up your existing Django project to work seamlessly in various environments. You have incorporated django-environ to manage secrets and settings, enhancing your project. Additionally, your production settings now include Django’s native security features.
If you have followed the instructions to enable all the suggested security components and re-implement the settings, your project will possess these essential characteristics:
- SSL/HTTPS for all communications (for example, subdomains, cookies, CSRF).
- XSS (cross-site scripting) attacks prevention.
- CSRF (cross-site request forgery) attacks prevention.
- Concealed project secret key.
- Concealed admin login URL, preventing brute-force attacks.
- Separate settings for development and production.
If you want to know more about Django, take a look at our tutorial series on Django development.
If you haven’t started your project yet, we have a tutorial on How to Configure Django with Postgres, Nginx, and Gunicorn on Ubuntu 20.04. Additionally, you can explore our Django topic page for more tutorials.
Additionally, it is recommended to review Django’s settings documentation for more detailed information.
More tutorials
Python 3 installing on Rocky Linux 9(Opens in a new browser tab)
method X is unclear for the type Y in Java(Opens in a new browser tab)
A guide on creating a Ruby on Rails application on Ubuntu 22.04.(Opens in a new browser tab)
Step-by-step Guide: Installing Rust on Ubuntu 20.04(Opens in a new browser tab)
How to include items to a list in Python(Opens in a new browser tab)

