Publishing Python packages to PyPI using Poetry on Ubuntu 22.04
Poetry is a Python dependency manager that can also handle the building and packaging of your Python projects for sharing. In this tutorial, we will be using PyPI, the official Python repository, for uploading and downloading Python packages. PyPI is the official source for third-party Python packages and is managed by the Python Software Foundation. By publishing your packages on PyPI, they become accessible for installation by yourself or anyone else.
During this tutorial, you will be able to set up a PyPI account and authenticate it using tokens for Poetry. Afterwards, you will learn how to build and publish your project on PyPI. Additionally, you can include your published package as a dependency in your other Python projects.
Requirements
- An Ubuntu 22.04 server, set up according to our initial server setup guide for Ubuntu 22.04, with a non-root user with sudo privileges and a firewall enabled.
- The latest version of Python 3 installed on your machine following Step 1 of how to install Python 3 and set up a programming environment on an Ubuntu 22.04 server.
- Poetry installed on your system, following this guide on how to install Poetry to manage Python dependencies on Ubuntu 22.04.
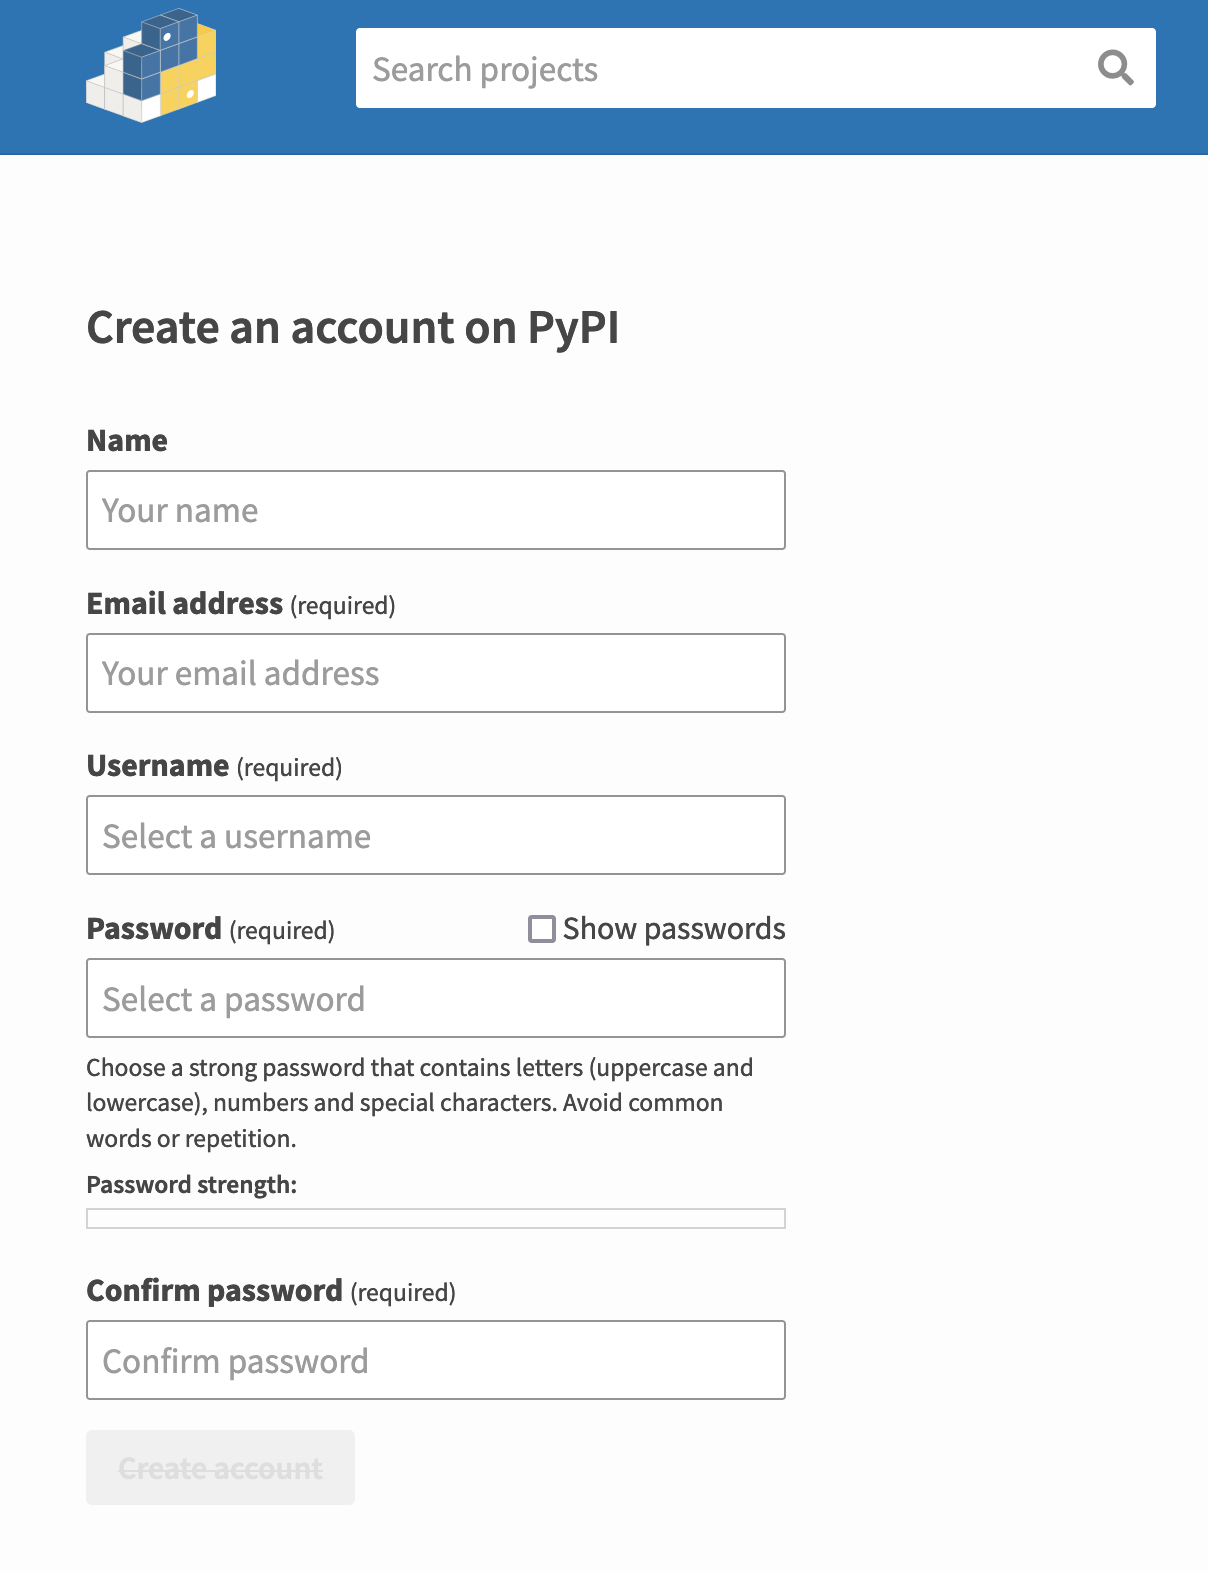
First, you need to create a PyPI Account.
To submit a package to PyPI, it is necessary to sign up by creating an account. Open your web browser and visit the official registration page.
Afterwards, you must activate token authentication to securely utilize your PyPI credentials alongside Poetry.
To proceed, we need to enable token authentication for PyPI in Step 2.
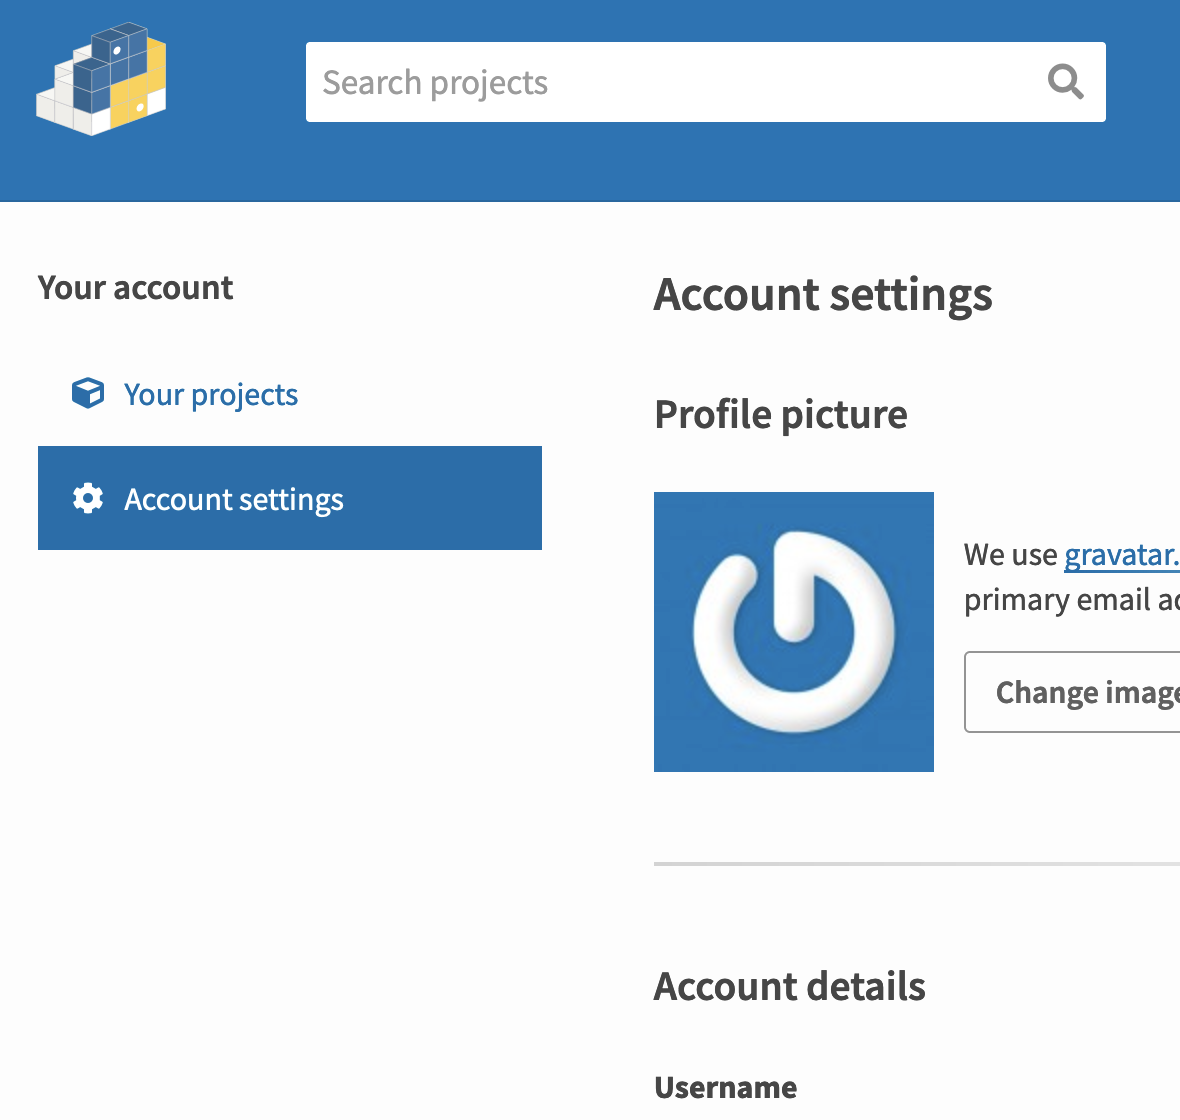
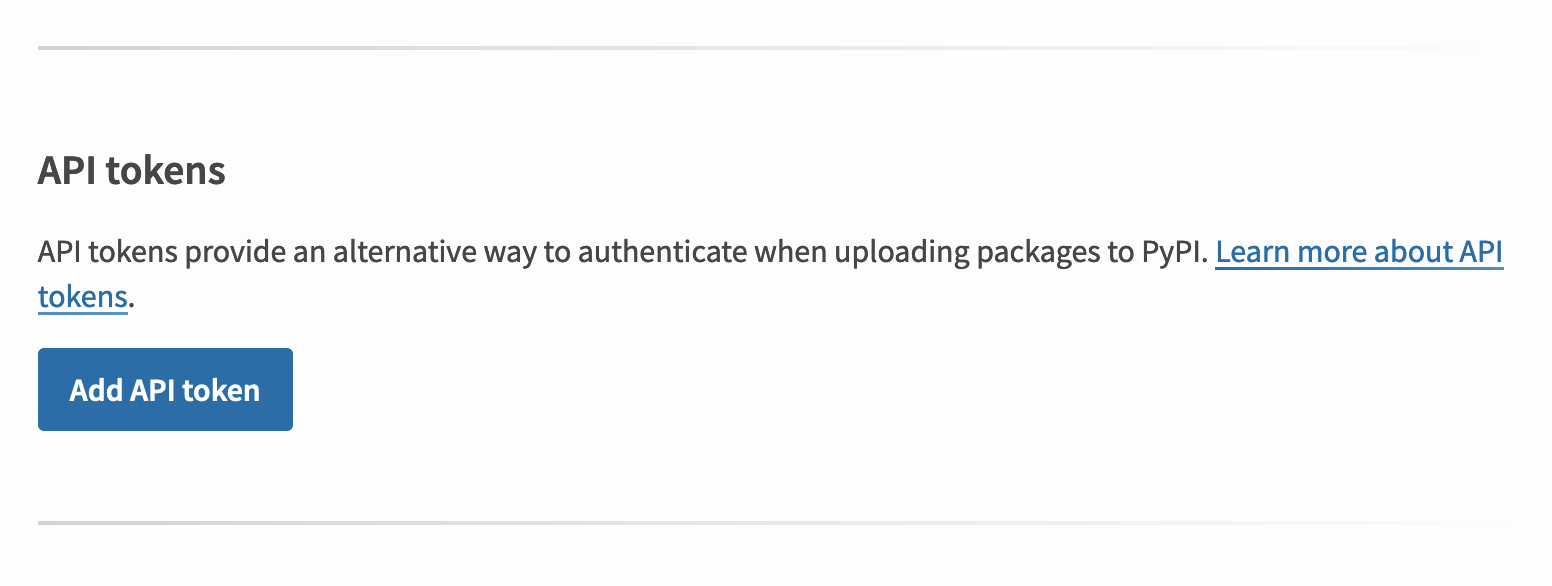
The preferred method of using your PyPI account in the command line is through token authentication. Instead of using a username and password, you can utilize a single token that is generated automatically. These tokens offer enhanced security as they can be added, revoked, or granted specific access to different parts of your account. By using tokens, you minimize the risk of password compromise. To create a new API token for your account, you should go to your account settings.
Keep scrolling until you find the section labeled “API tokens”. Tap on “Add API token”.
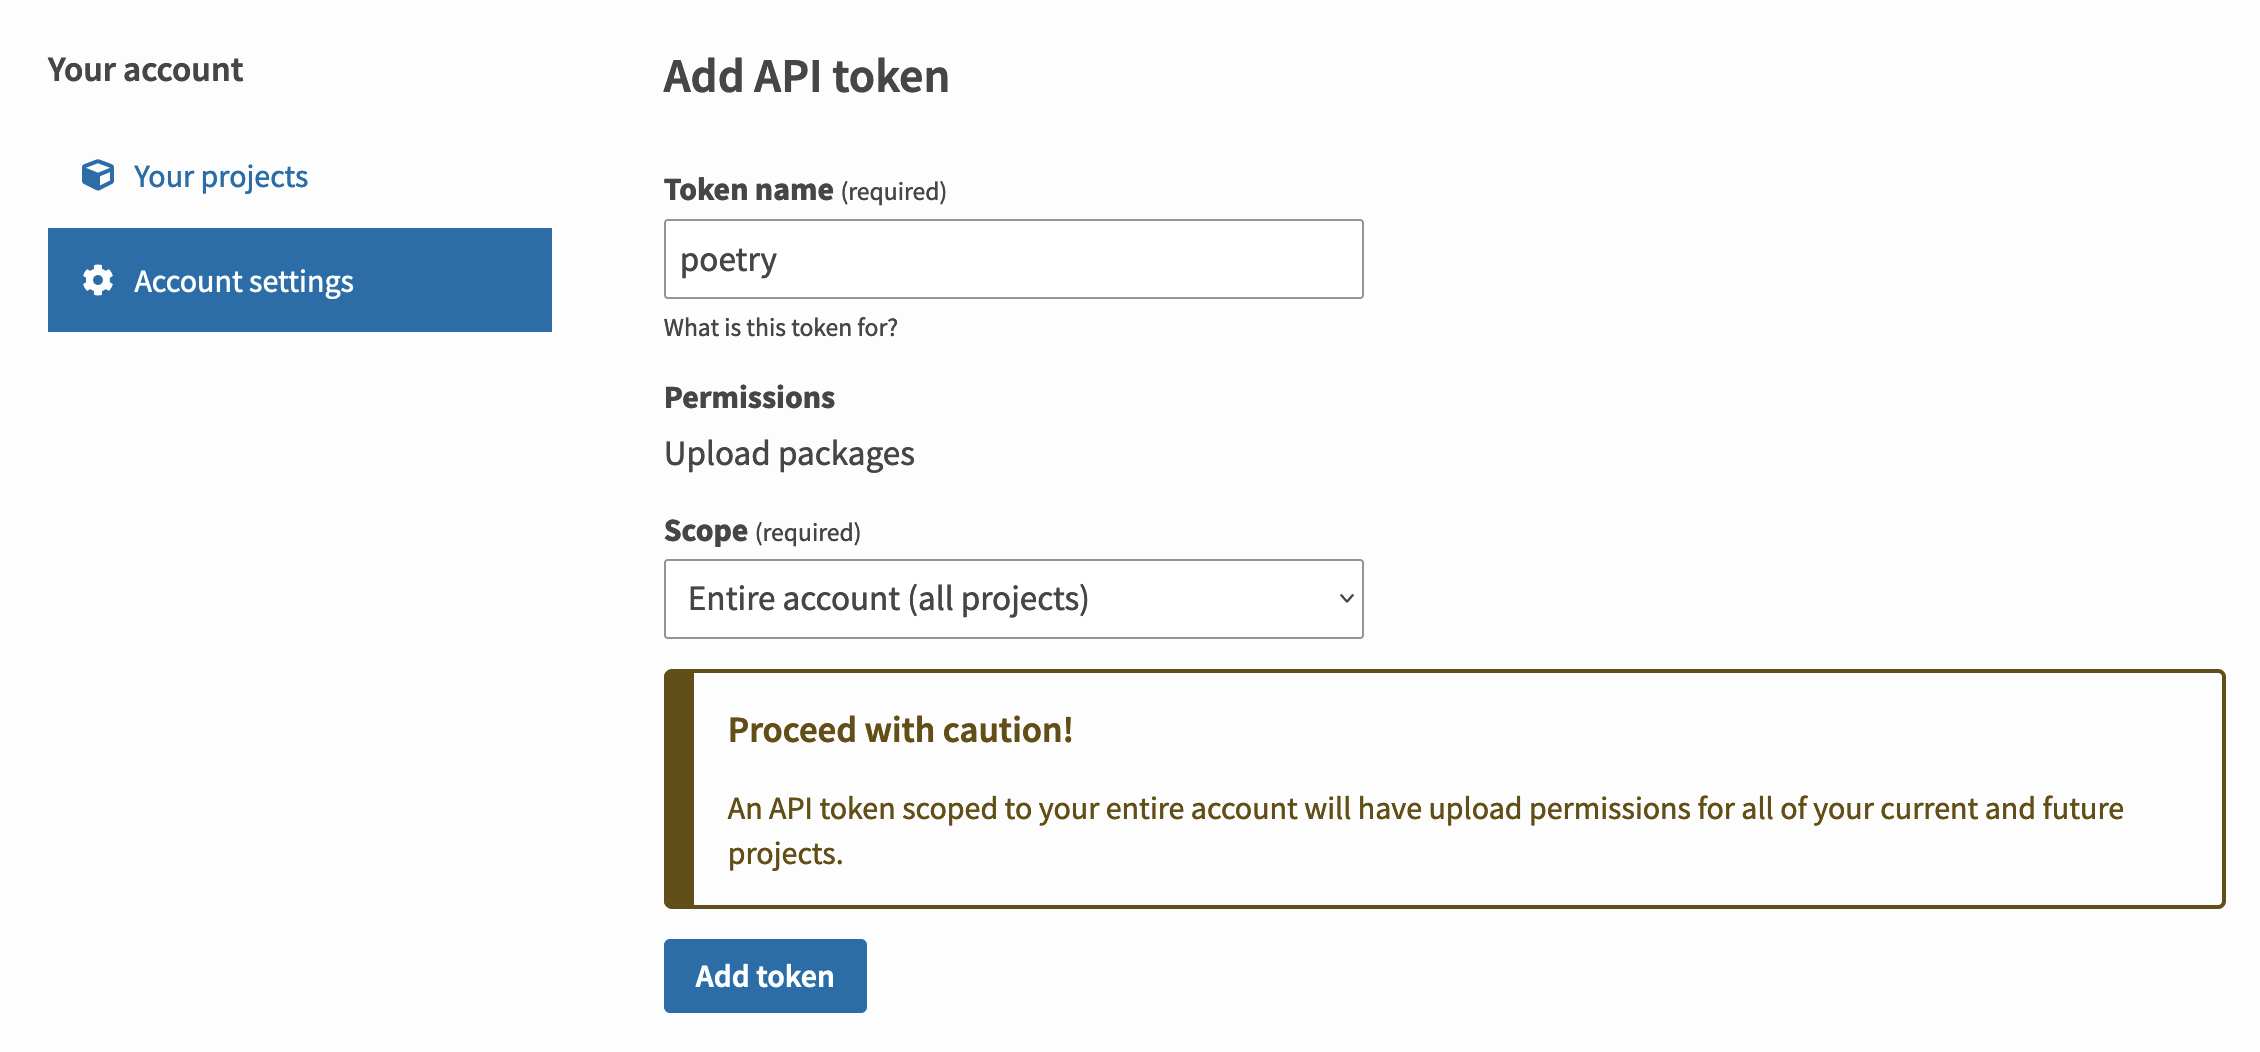
You have the option to name your token on the next page. In this tutorial, it will be called poetry, but you can select any name you prefer.
After you have generated your token, it is crucial to duplicate it as it will be displayed only once. It is a standard procedure with API tokens, enabling you to create a new one when necessary, hence remember to jot down your token before moving forward.

Use this token to configure your credentials in Poetry for publishing. Rather than adding your API token to each command requiring it in Poetry, you will incorporate it once through Poetry’s config command.
You can include your API token in Poetry by executing this command.
- poetry config pypi-token.pypi your-api-token
By including your API token as your identification, Poetry will inform you that your identification is saved in a plain text document. If you were using a usual username and password for your identification, this would pose a problem. However, since tokens can be readily deleted, renewed, randomly generated, and specific to a single purpose, storing tokens here is a secure compromise for ease of use. As another option, you have the choice to manually enter your API token for every command.
With this, you have everything necessary to construct and subsequently release your project.
Step 3: Constructing your Project.
To construct your project, which is an essential step before releasing it, you must package it. The process of building involves executing the following command:
poetry build
Building sammy-poetry (0.1.0) – Building sdist – Built sammy-poetry-0.1.0.tar.gz – Building wheel – Built sammy_poetry-0.1.0-py3-none-any.whl
There will be two files produced: The initial one is the source file, which is sdist, creating a tar.gz file. The second file is the compiled package, which is wheel, resulting in a .whl file. With these files in hand, you can proceed to publish your Python package on PyPI.
Step 4: Publish your Python Package to PyPI
Poetry automatically uses PyPI as the primary platform for publishing. Once you authenticate your API token, you won’t have to re-enter your credentials when using the publish command.
If you want to release your compiled package, use the following command:
poetry publish
Publishing sammy-poetry (0.1.0) to PyPI – Uploading sammy-poetry-0.1.0.tar.gz 100% – Uploading sammy_poetry-0.1.0-py3-none-any.whl 100%
Now, it is possible to verify your published package by accessing your PyPI projects via your internet browser.

Your package has been published and can be accessed publicly on PyPI. Additionally, it is also accessible as a dependency through Poetry. You have the flexibility to utilize your published package as a dependency in your other Python projects.
Note
In conclusion,
In this tutorial, you employed Poetry to facilitate the building and distribution capabilities. You established a PyPI account, configured API Token authentication with Poetry, and compiled your project before releasing it. Your package is now accessible as a public dependency and can be easily incorporated through Poetry as well.
Afterwards, you might be interested in exploring Python further by taking a look at our tutorial series called How To Code in Python.
More tutorials
Grafana Tutor Step-by-step Guide to Grafana on Ubuntu 18.04(Opens in a new browser tab)
Dependency Injection in Spring(Opens in a new browser tab)
Python Compiler Error during package installation?(Opens in a new browser tab)
SSH Example Tutorial for Expect Script(Opens in a new browser tab)
The Spring Framework(Opens in a new browser tab)

