春の@PropertySource
Springの@PropertySourceアノテーションは、Spring Environmentにプロパティファイルを提供するために使用されます。このアノテーションは@Configurationクラスと一緒に使用されます。SpringのPropertySourceアノテーションは繰り返し可能であり、1つのConfigurationクラスに複数のPropertySourceを持つことができます。この機能はJava 8以上のバージョンを使用している場合に利用できます。
春のPropertySourceの例
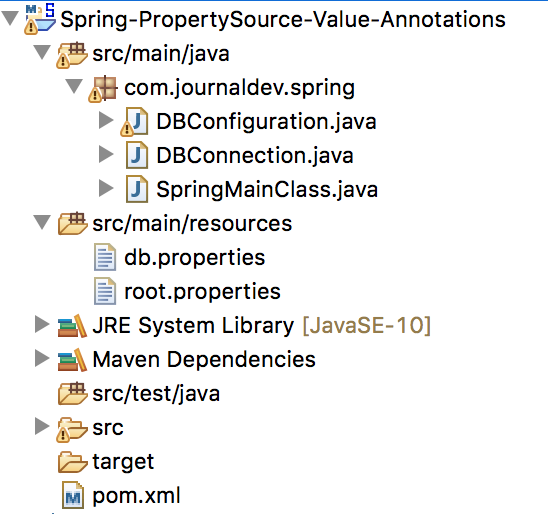
簡単なスプリングアプリケーションの例を通して、プロパティファイルからデータベースの設定情報を読み込み、データベース接続を作成します。データベースのいくつかのメタデータ情報をコンソールに表示します。シンプルなMavenプロジェクトを作成し、SpringとMySQLの依存関係を追加します。この例では、他のデータベースも使用できますが、設定を変更してください。
<dependency>
	<groupId>org.springframework</groupId>
	<artifactId>spring-context</artifactId>
	<version>5.0.6.RELEASE</version>
</dependency>
<dependency>
	<groupId>mysql</groupId>
	<artifactId>mysql-connector-java</artifactId>
	<version>5.1.46</version>
</dependency>
package com.scdev.spring;

import java.sql.Connection;
import java.sql.DriverManager;
import java.sql.SQLException;

public class DBConnection {

	private String driverClass;
	private String dbURL;
	private String userName;
	private char[] password;
	private Connection con;

	public DBConnection(String driverClass, String dbURL, String userName, char[] password) {
		this.driverClass = driverClass;
		this.dbURL = dbURL;
		this.userName = userName;
		this.password = password;
	}

	public Connection getConnection() {
		if (this.con != null)
			return con;

		Connection con = null;
		try {
			System.out.println("Creating DB Connection");
			Class.forName(driverClass);
			con = DriverManager.getConnection(dbURL, userName, String.valueOf(password));
			System.out.println("Successfully Created DB Connection");
		} catch (ClassNotFoundException | SQLException e) {
			e.printStackTrace();
		}
		this.con = con;
		return con;
	}

	public void close() {
		System.out.println("DBConnection close called");
		if (this.con != null) {
			try {
				con.close();
			} catch (SQLException e) {
				e.printStackTrace();
			}
		}
	}
}
注意:実世界のアプリケーションを作成する場合は、Spring ORMを使用することができます。これにより、Springがデータベース接続の管理を担当し、ビジネスロジックの記述に集中することができます。さて、Springの設定クラスを作成しましょう。ここではPropertySourceアノテーションを使用します。
package com.scdev.spring;

import org.springframework.beans.factory.annotation.Autowired;
import org.springframework.context.annotation.Bean;
import org.springframework.context.annotation.Configuration;
import org.springframework.context.annotation.PropertySource;
import org.springframework.core.env.Environment;

@Configuration
@PropertySource("classpath:db.properties")
@PropertySource("classpath:root.properties")
public class DBConfiguration {

	@Autowired
    Environment env;

	@Bean
    public DBConnection getDBConnection() {
		System.out.println("Getting DBConnection Bean for App: "+env.getProperty("APP_NAME"));
		DBConnection dbConnection = new DBConnection(env.getProperty("DB_DRIVER_CLASS"), env.getProperty("DB_URL"), env.getProperty("DB_USERNAME"), env.getProperty("DB_PASSWORD").toCharArray());
        return dbConnection;
    }

}
複数のプロパティファイルをSpring環境に読み込んでいることに注意してください。これらのプロパティファイルの内容を見てみましょう。db.properties
#MYSQL Database Configurations
DB_DRIVER_CLASS=com.mysql.jdbc.Driver
DB_URL=jdbc:mysql://localhost:3306/Test
DB_USERNAME=scdev
DB_PASSWORD=scdev
ルートのプロパティ
APP_NAME=PropertySource Example
メインクラスを作成し、データベースの詳細を取得しましょう。
package com.scdev.spring;

import java.sql.Connection;
import java.sql.SQLException;

import org.springframework.context.annotation.AnnotationConfigApplicationContext;

public class SpringMainClass {

	public static void main(String[] args) throws SQLException {
		AnnotationConfigApplicationContext context = new AnnotationConfigApplicationContext();
		context.scan("com.scdev.spring");
		context.refresh();

		DBConnection dbConnection = context.getBean(DBConnection.class);

		Connection con = dbConnection.getConnection();

		System.out.println(con.getMetaData().getDatabaseProductName());
		System.out.println(con.getMetaData().getDatabaseProductVersion());

		// close the spring context
		context.close();
	}

}
上記のクラスをJavaアプリケーションとして実行すると、以下の出力が生成されます。
Getting DBConnection Bean for App: PropertySource Example
Creating DB Connection
Successfully Created DB Connection
MySQL
5.7.18
DBConnection close called
可読性を向上させるため、Springのログ出力によるデバッグメッセージをコンソールから削除しました。
Springの@PropertySourceと@PropertySourcesに関して、複数のファイルを指定することができます。
設定クラスに複数のプロパティファイルを読み込む別の方法があります。
@PropertySources({
@PropertySource("classpath:db.properties"),
@PropertySource("classpath:root.properties")})
public class DBConfiguration {
}
Java 8以降、PropertySource注釈が繰り返し可能になりました。以前のJavaバージョンでは、@PropertySourcesを使用して複数のプロパティファイルを構成クラスに提供する方法でした。
春のプロパティソースの値の上書き
私たちは複数のプロパティファイルをSpring環境に読み込むことができます。もし複数のファイルに同じキーが存在する場合、最後に読み込まれたプロパティファイルが以前の値を上書きします。したがって、プロパティの値が意図しないものになっている場合は、他のプロパティファイルに同じキーが存在するかどうか、そしてこれらのプロパティファイルの読み込み順序を確認してください。
外部ファイルを使用したSpringのプロパティソース
私たちの設定ファイルは、特定の場所に存在し、プロジェクトのクラスパスの一部ではありません。PropertySourceを設定して、プロパティファイルをファイルシステムから読み込むこともできます。
@PropertySource("file:/Users/scdev/db.properties")
春のPropertySource環境変数
上記の設定は、外部の場所からプロパティファイルを読み込むためのものですが、これは私のローカルシステムではうまく動作しますが、他の人やサーバーでは動作しません。また、PropertySourceでシステム変数を読み取ることもできますので、以下の設定は誰にでも適用されます。
@PropertySource("file:${HOME}/db.properties")
SpringのPropertySourceでは、FileNotFoundExceptionを無視します。
プロパティファイルが見つからない場合、FileNotFoundExceptionが発生します。アプリケーションがデフォルト値でも動作できる場合、例外をスローしたくない場合があります。ファイルが見つからなかった場合に例外をスローしないように、SpringフレームワークにPropertySourceのignoreResourceNotFoundをtrueに設定することができます。
@PropertySource(value = "classpath:root.properties", ignoreResourceNotFound=true)
それでSpring PropertySourceの例は以上です。GitHubリポジトリからソースコードとMavenプロジェクトをチェックアウトできます。
スプリングのPropertySourceプロジェクト

