SeleniumのJARファイルをダウンロードして、Eclipseで設定してください。
セレニウムは、複数のプログラミング言語でそのAPI実装を提供しています。ただし、セレニウムAPIのJavaベースのバインディングが最も人気です。このチュートリアルでは、セレニウムのJARファイルをダウンロードし、テストスクリプトの作成に使用するためにEclipse IDEを構成する方法を学びます。セレニウムWebDriverを使用してEclipseを構成するには、以下の手順を実行する必要があります。
-
- Javaのインストール
-
- Eclipse IDEのインストール
- Eclipse IDEのWebDriverとの設定
Javaをインストールする
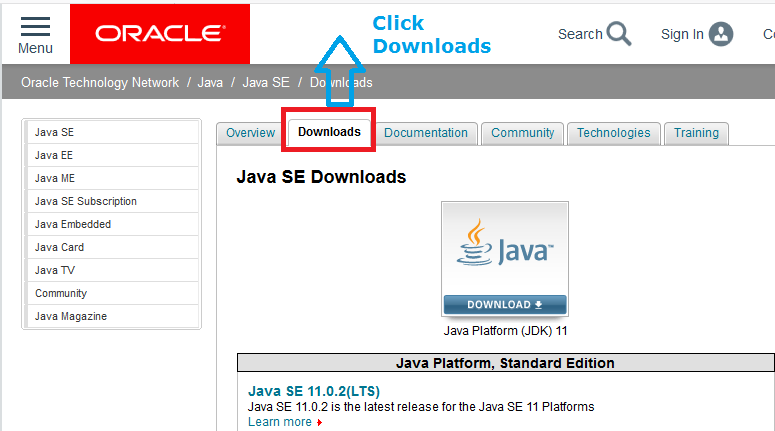
- Step 1: Go to the official website (https://www.oracle.com/technetwork/java/javase/downloads) and click on the Download tab.
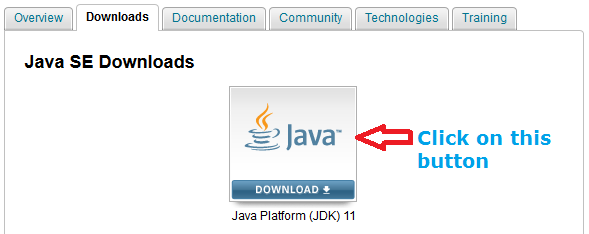
- Step 2: Click Icon under Java SE Downloads
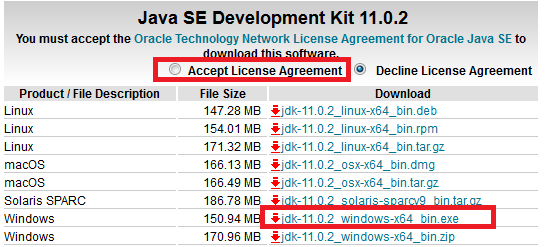
- Step 3: Accept the License Agreement and choose the JDK that corresponds to your Operating System.
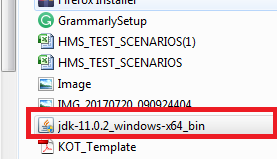
- Step 4: Once the download is complete, run the executable file to install JDK in Windows. Perform similar steps for Mac DMG file. For Linux, you just need to untar and set PATH variable to execute java commands.
Java 11以降、Javaのライセンスに大きな変更がありました。商用目的では、Oracle JDKはもう無料ではありません。ただし、製品環境で使用する場合は無料で使用できるOpenJDKを利用することができます。詳細はJava 11の機能について読んでください。
Eclipse IDEをインストールする。
では、Windows に Eclipse IDE をインストールする方法を見てみましょう。Mac や Linux のオペレーティングシステムでもほとんど同様の手順があります。それに応じたオペレーティングシステムの Eclipse インストーラーファイルと同様の手順を必要とします。
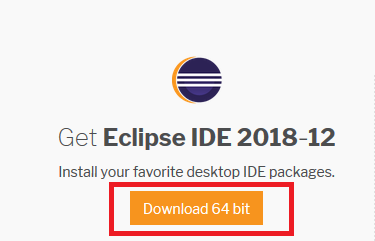
- Step 1: Go to the Eclipse official website and click Download button of Eclipse IDE icon.
- Step 2: Once the download is complete, run the exe file to start Eclipse installer application for Windows.

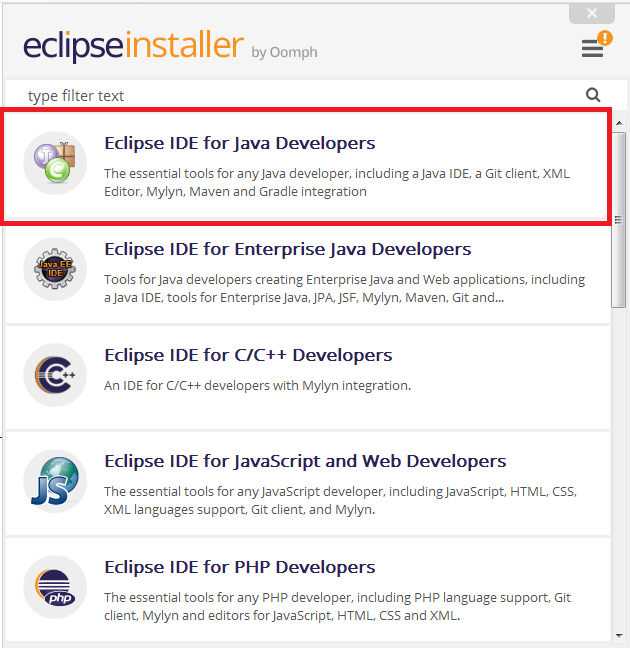
- Step 3: Click “Eclipse IDE for Java Developers” in the installer window.
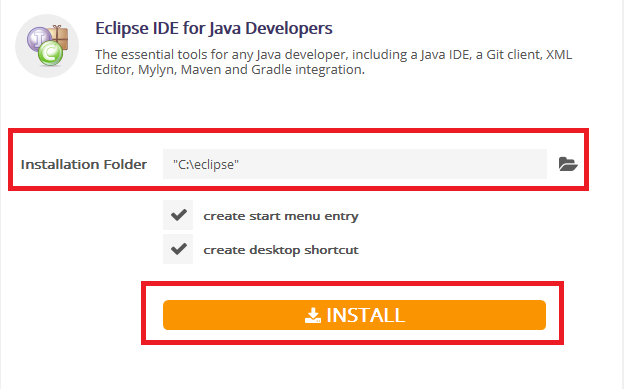
- Step 4: After that, a new window will open. Change the Installation Folder path to “C:\eclipse” and click on install button.
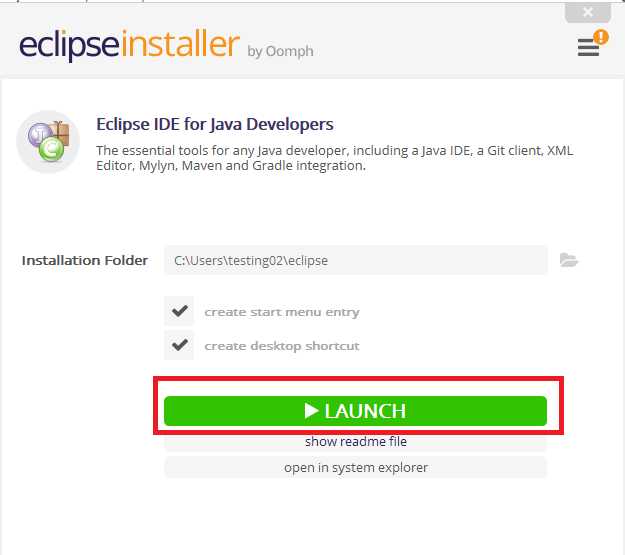
- Step 5: After successful completion of installation, a new window will open. Click on the Launch button in the new window.
- Step 6: This will launch Eclipse IDE for you. From next time onwards, you can start Eclipse from its installation folder.

セレンのJARのダウンロード
基本的に、セレニウムはインストールされていませんが、設定されています。単にJARファイルをダウンロードしてEclipseに含めるだけです。
- Step 1: Go to the official website and click on Download tab.
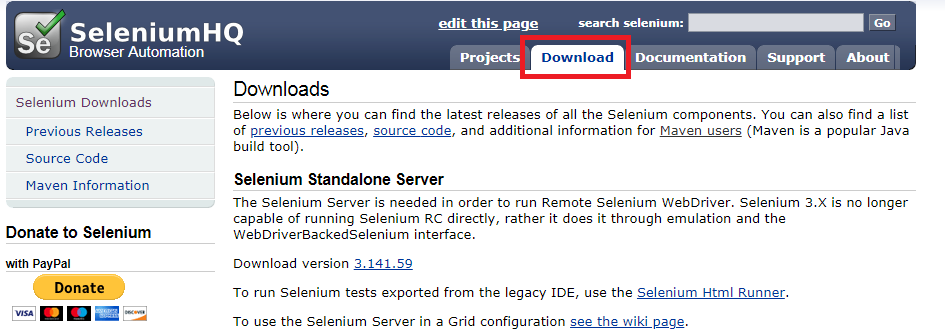
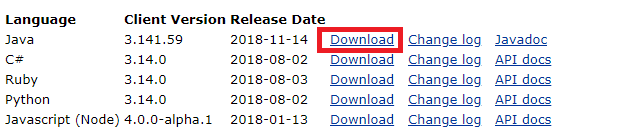
- Step 2: Click on Download link to download the jars for selenium.
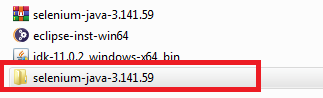
- Step 3: Extract the downloaded folder and we will get the folder like selenium-java-3.141.59.
セレンウェブドライバーを使用してEclipse IDEを設定する。
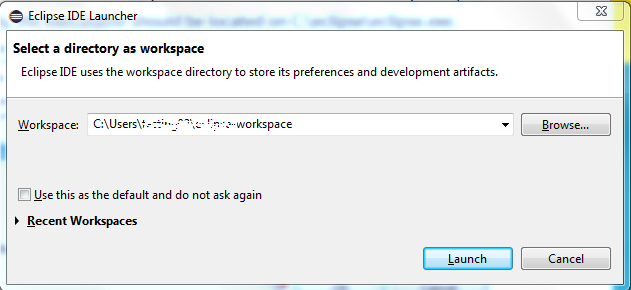
- Step 1: Launch the “eclipse.exe” file inside the eclipse installation folder.
- Step 2: When asked to select for a workspace, just click Launch button to accept the default location.
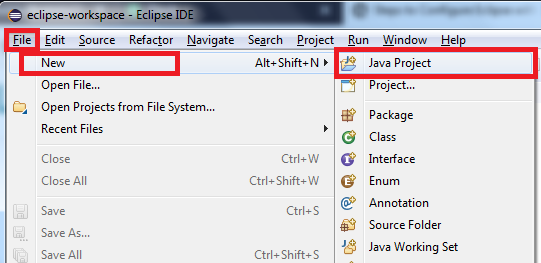
- Step 3: Create a new Java Project from File > New > Project.
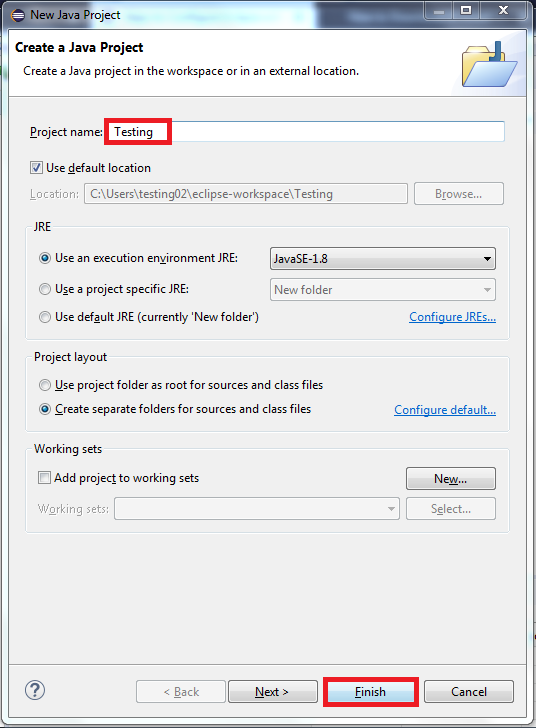
- Step 4: Give your Project name ‘Testing‘ as shown below. Click on Finish button.
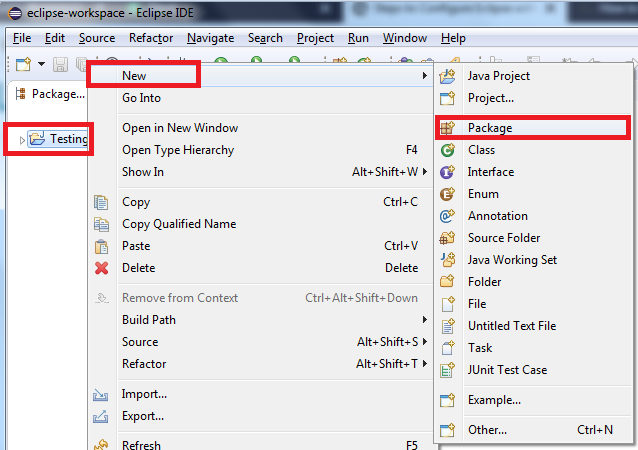
- Step 5: Right click on Project name Testing and select New > Package.
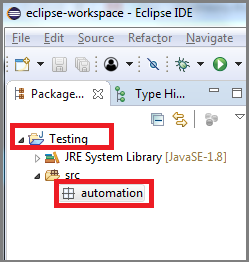
- Step 6: Give Package name automation and click on Finish button.
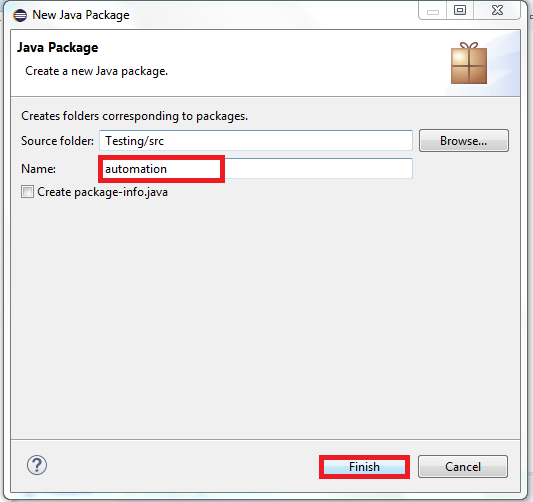
今、プロジェクト名「テスト」の下に新しいパッケージ名「オートメーション」が表示されます。
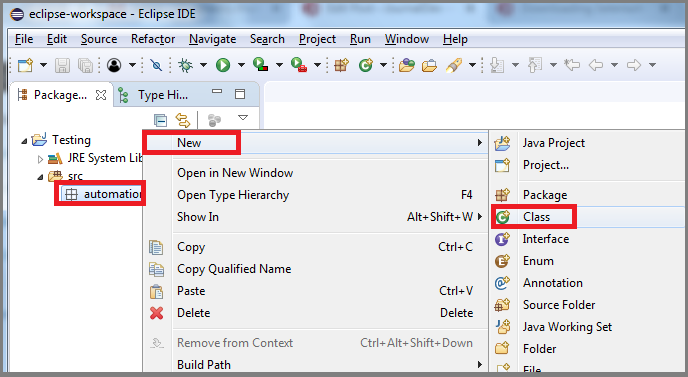
- Step 7: Right click on package automation and select New > Class.
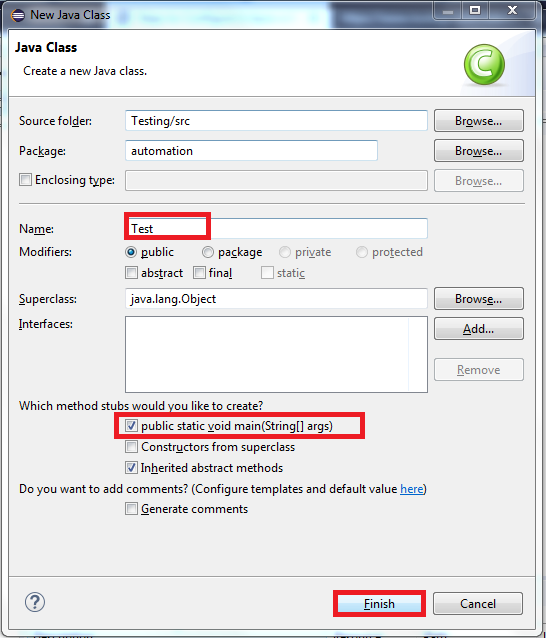
- Step 8: Give Class name Test, check the option checkbox public static void main and click on Finish button.
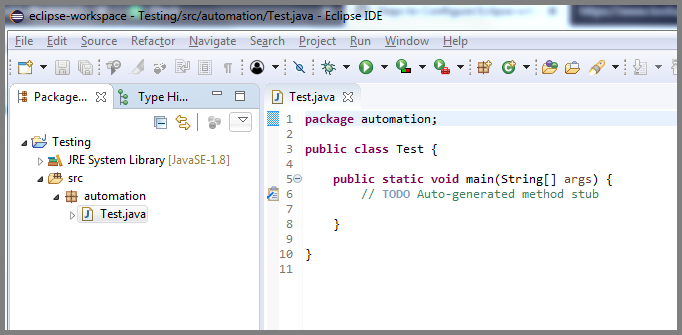
- Step 9: Now your Eclipse window will look something like below.
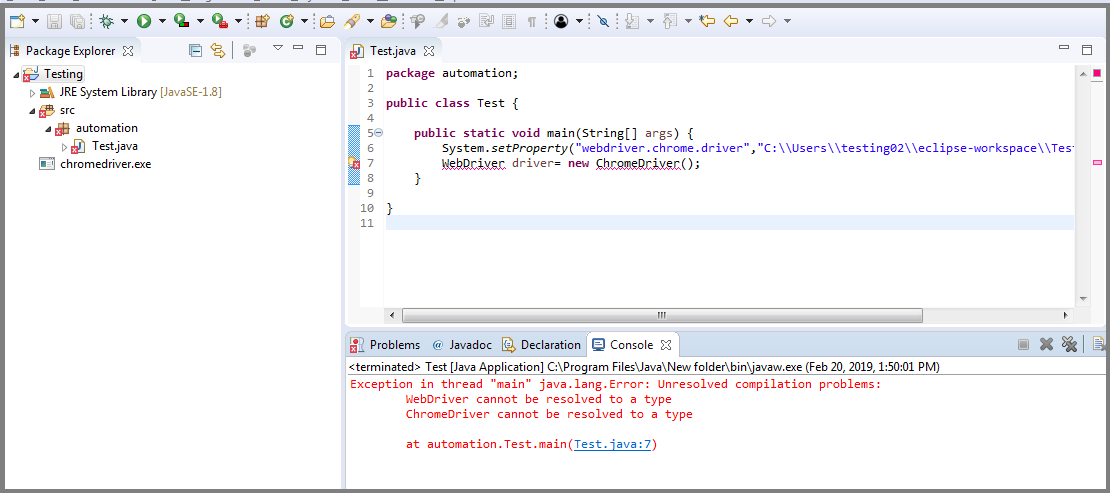
- Step 10: Now we add few lines of Selenium code without adding JAR files. Below image shows us the error message when we won’t add jar files.
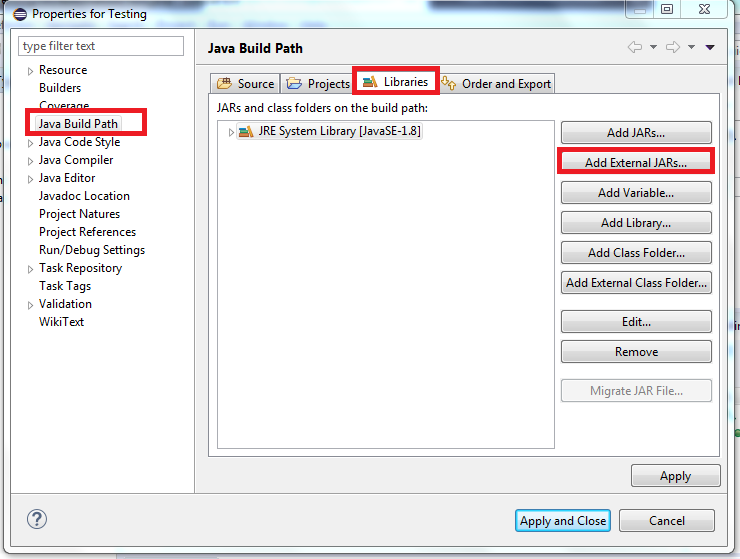
さあ、エラーを修正するためにプロジェクトにSeleniumのJARファイルを追加しましょう。- ステップ11: プロジェクトTestingを右クリックし、プロパティ > Javaビルドパスを選択します。その後、ライブラリのタブをクリックし、外部のJARファイルを追加してください。
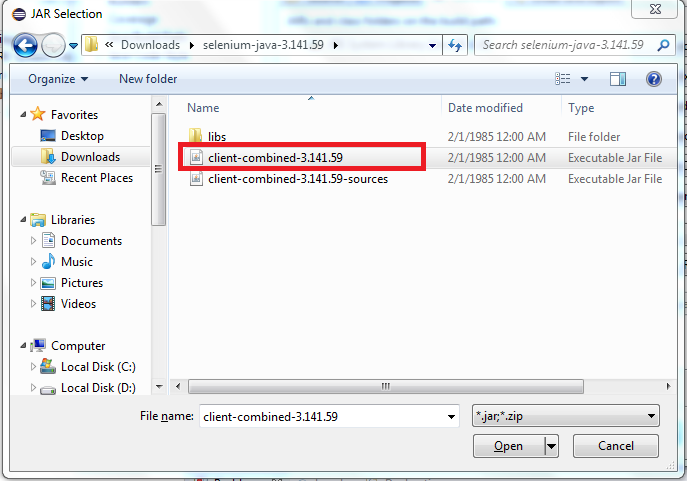
- Step 12: Add client-combined jar from the selenium jars folder.
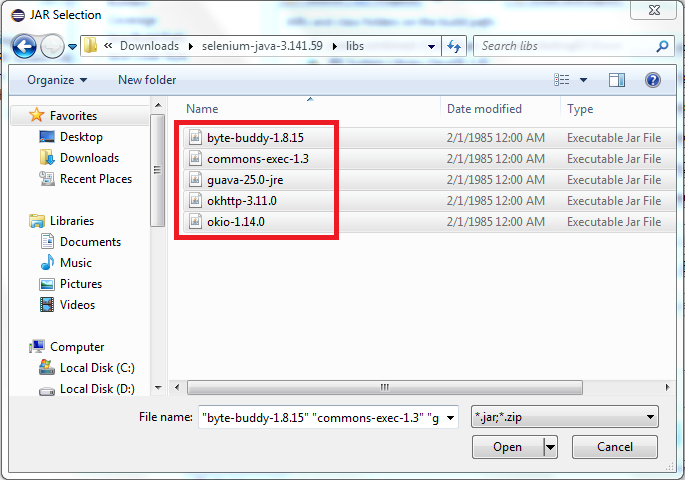
- Step 13: Add all the jars under libs folder.
- Step 14: Click Apply and Close button.

- Step 15: Now your Project Package Explorer window should look similar to the below image. Also, the errors related to Selenium classes would have been disappeared. Here we need to import WebDriver and ChromeDriver classes.
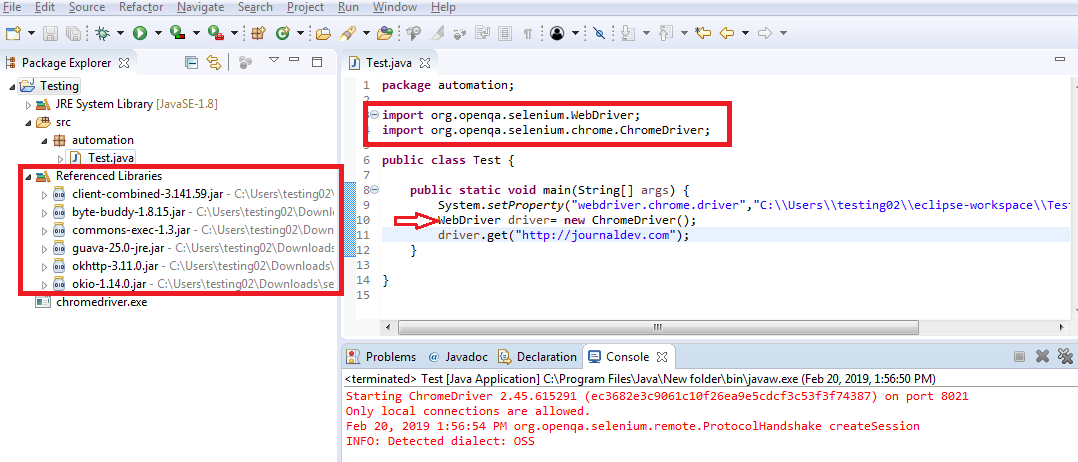
それでいいです。私たちのEclipseのJavaプロジェクトは、セレニウムのクラスを使用するように設定されています。
セレニウムのMaven依存関係
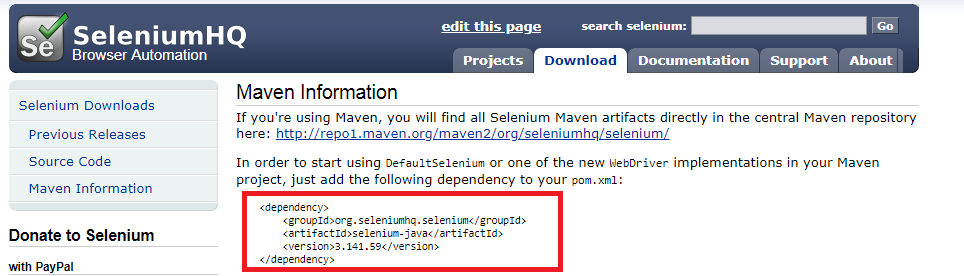
現在の多くのJavaプロジェクトは、ビルドツールとしてMavenを使用しています。その場合、SeleniumのJARファイルをプロジェクトに簡単にインポートすることができます。以下の依存関係をプロジェクトのpom.xmlファイルに追加するだけです。
<dependency>
    <groupId>org.seleniumhq.selenium</groupId>
    <artifactId>selenium-java</artifactId>
    <version>3.141.59</version>
</dependency>
もしMavenプロジェクトが初めてなら、以下の手順を参考にしてください。
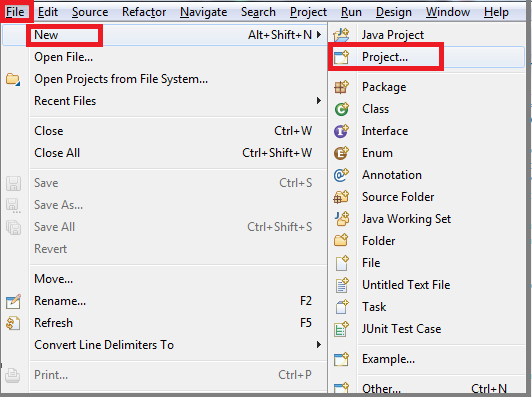
- Step 1: Open Eclipse then go to File > New > Project.
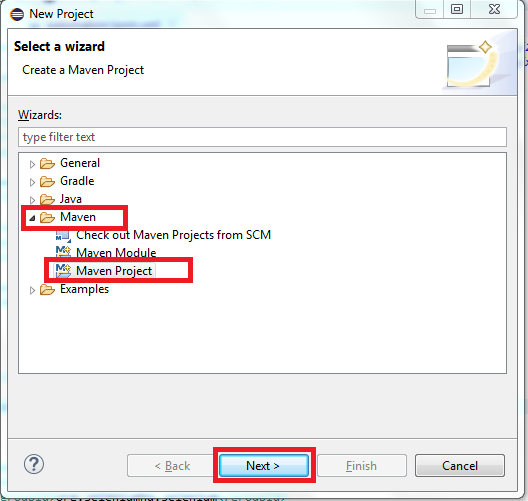
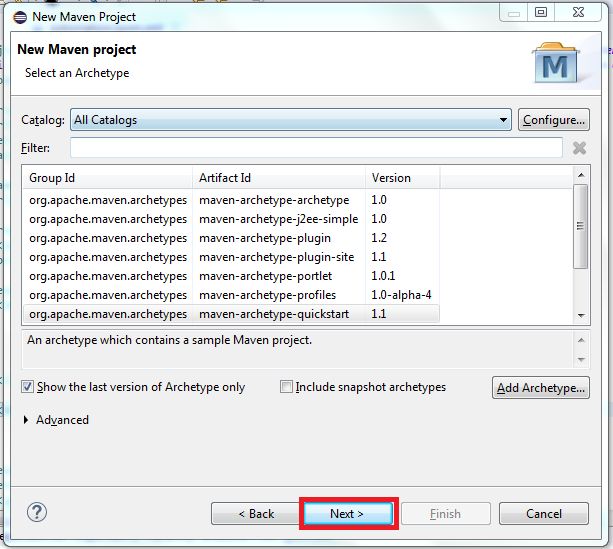
- Step 2: In the new project window, there are many wizard to choose. Select Maven Project under Maven category and click on Next button.
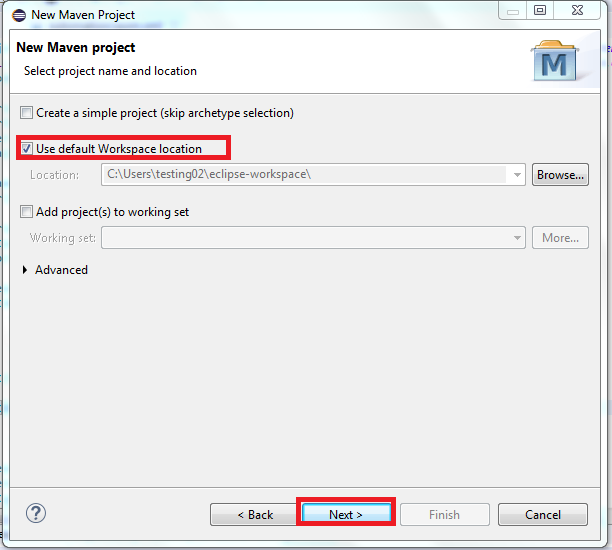
- Step 3: Click on Next button in the new screen. Don’t forget to select the “Use default Workspace location” option.
- Step 4: Select the maven-archetype-quickstart in the next screen and click on Next button.
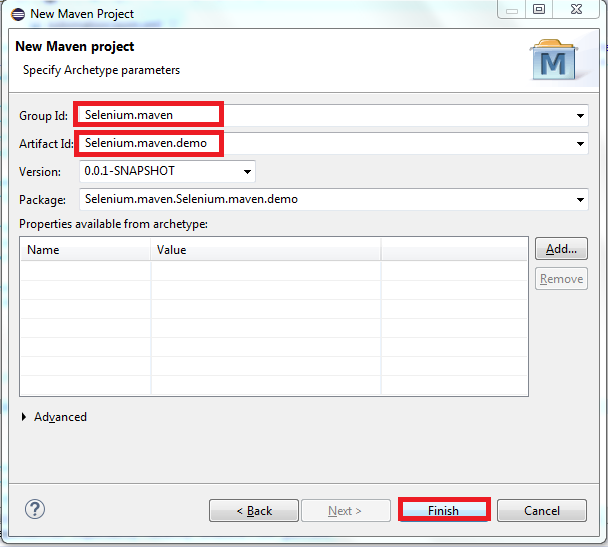
- Step 5: Enter Group Id, Artifact Id and click on Finish button.
- Step 6: Once the project is created you can see the maven project in the project explorer.
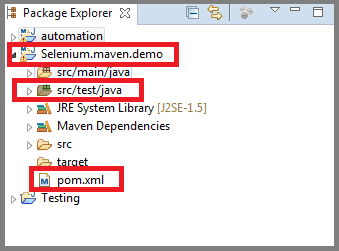
- Step 7: Double click on pom.xml and you will get the source code of pom.xml in the editor.

- Step 8: We need selenium maven dependencies configuration to add to our project. Head over to https://www.seleniumhq.org/download/maven.jsp. Here Selenium guys have provided maven dependency information. Just copy them as we need to paste it in pom.xml file.
- Step 9: Open pom.xml file and create tag and paste the dependency code inside it. Save the pom.xml file changes.

セレニウムのグラデル依存関係
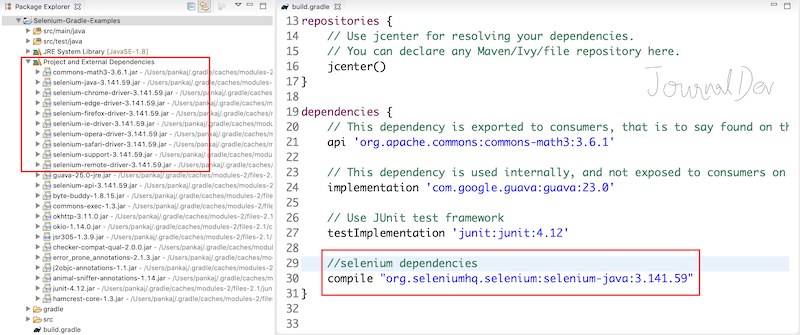
Gradleは人気のあるビルドツールであり、多くのプロジェクトで使用されています。もしGradleを使用している場合は、以下の依存関係をbuild.gradleファイルに追加してください。
compile "org.seleniumhq.selenium:selenium-java:3.141.59"
要約: 日本語でネイティブに言い換えると、以下のようになります(1つのオプションのみ):
要約:
私たちは、Seleniumを使ってシステムをセットアップする方法を学びました。JavaとEclipseをインストールし、新しいプロジェクトを作成してSeleniumのJARファイルを追加しました。しかし、私たちのプロジェクトでは、MavenやGradleのビルドツールを使用する方が良いです。また、MavenやGradleスクリプトを使用してSeleniumのJARファイルを追加する方法も学びました。参考資料:Java SEのダウンロード、Eclipseのダウンロード、SeleniumのJARファイル。

