Ubuntu 18.04にNodeJSをインストール/アンインストールする方法は?
NodeJSは、簡単に高速なネットワークアプリケーションを構築することができるJavaScriptフレームワークです。このガイドでは、Ubuntu 18.04にNodeJSをインストールする方法について説明します。
ステップ1:NodeJS PPAをUbuntu 18.04に追加します。
最初に、以下のコマンドを使用してNodeJS PPAをシステムに追加してください。
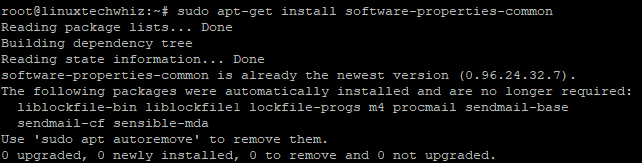
sudo apt-get install software-properties-common
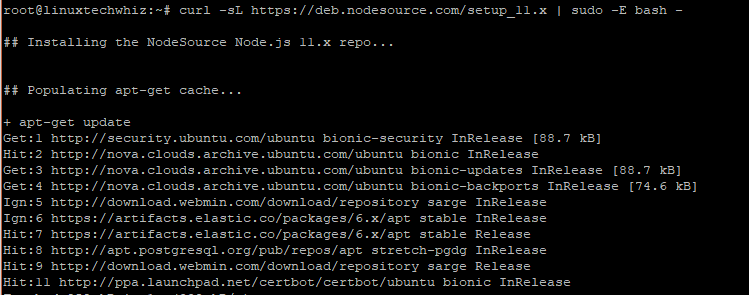
curl -sL https://deb.nodesource.com/setup_11.x | sudo -E bash -
ステップ2:UbuntuにNodeJSをインストールする。
NodeJSのPPAの追加が成功したら、以下のコマンドを使ってNodeJSをインストールする時です。
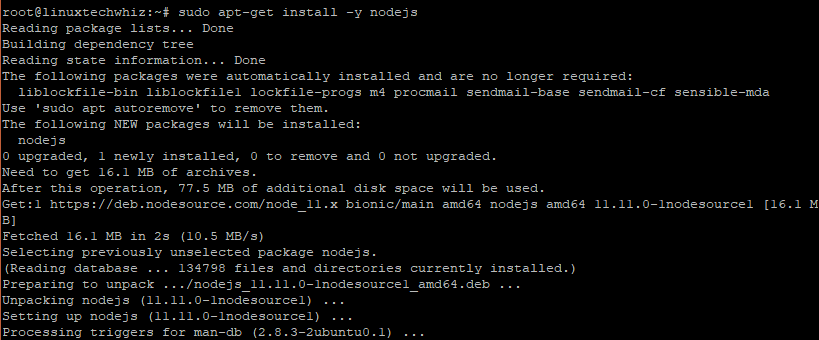
sudo apt-get install nodejs
ステップ3:NodeJSとNPMのバージョンを確認します。
NodeJSのインストールが成功したら、以下の簡単なコマンドを使ってNodeJSのバージョンをテストできます。
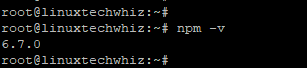
node -v

npm -v
ステップ4:Webサーバーのデモを作成する。
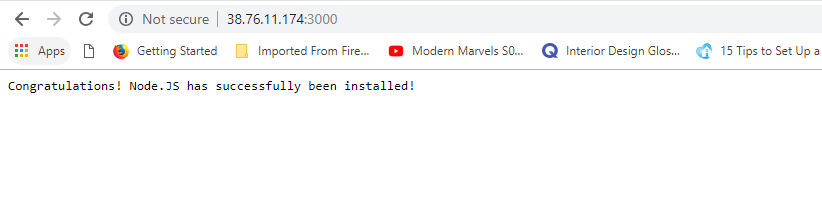
これはオプションの手順であり、Node.jsが意図した通りに動作しているかどうかをテストするために使用できます。私たちは、「おめでとうございます!node.JSが正常にインストールされました!」というテキストを表示するウェブサーバーを作成します。Node.jsファイルを作成し、nodeapp.jsと呼びましょう。
vim nodeapp.js
以下のコンテンツを追加してください。
var http = require('http');
http.createServer(function (req, res) {
  res.writeHead(200, {'Content-Type': 'text/plain'});
  res.end('Congratulations! node.JS has successfully been installed !\n');
}).listen(3000, " server-ip);
console.log('Server running at https://server-ip:3000/');
テキストエディタを保存して終了し、以下のコマンドを使用してアプリケーションを開始してください。
node nodeapp.js

ufw allow 3000/tcp
ufw reload
今、ブラウザを開いて、表示されているサーバーのアドレスをブラウズしてください。
https://server-ip:3000
UbuntuからNodeJSをアンインストールしてください。
もしUbuntuシステムからNodeJSをアンインストールしたい場合は、以下のコマンドを実行してください。
sudo apt-get remove nodejs
コマンドを実行すると、パッケージは削除されますが、設定ファイルは保持されます。パッケージと設定ファイルを両方削除するには、次のように実行してください。
sudo apt-get purge nodejs
最後のステップとして、以下のコマンドを実行して未使用ファイルを削除し、ディスクスペースを解放することができます。
sudo apt-get autoremove
素晴らしい!私たちはNodeJSのインストールとテストに成功しました。また、UbuntuからNodeJSをアンインストールし、スペースをクリーンアップする方法も学びました。

