Rocky Linux 9安装Nginx:从零到部署的完整指南
引言
Nginx是全球最受欢迎的Web服务器之一,负责托管互联网上许多大型和高流量的网站。它是一个轻量级的选择,既可以作为Web服务器,也可以作为反向代理。
在本指南中,您将学习如何在Rocky Linux 9服务器上安装Nginx,调整防火墙设置,管理Nginx进程,并为在单个服务器上托管多个域名配置服务器块。
先决条件
在开始本指南之前,您应该在服务器上配置一个具备sudo权限的常规非root用户。您可以参考我们的《Rocky Linux 9初始服务器设置指南》来学习如何配置常规用户账户。
在完成本教程的最后几个步骤之前,您还可以选择先注册一个域名。如果想了解如何在Silicon Cloud上配置域名,请参考我们的《Silicon Cloud DNS简介》。
当您拥有可用账户时,请使用非root用户登录开始操作。
第一步 – 安装Nginx
由于Nginx在Rocky的默认软件库中可用,您可以使用dnf软件包管理器通过单个命令进行安装。
使用dnf install命令安装nginx软件包。
- sudo dnf install nginx
当提示时,输入y以确认您希望安装Nginx。之后,dnf将在您的服务器上安装Nginx及其所需的依赖项。
安装完成后,运行以下命令来启用并启动Web服务器。
- sudo systemctl enable nginx
- sudo systemctl start nginx
这将在您的服务器重新启动时,使Nginx自动重新启动。您的新Web服务器现在应该已经启动并运行,但在测试之前,您可能需要对防火墙配置进行更改。
第二步 – 调整防火墙
如果您在Rocky Linux 9的初始服务器设置向导中启用了firewalld防火墙,您需要调整防火墙设置以允许在默认端口80上运行的Nginx Web服务器进行外部连接。
运行下面的命令来永久启用端口80上的HTTP连接:
- sudo firewall-cmd –permanent –add-service=http
为了验证是否正确添加了HTTP防火墙服务,您可以运行:
- sudo firewall-cmd –permanent –list-all
您将看到类似以下的输出:
public
target: default
icmp-block-inversion: no
interfaces:
sources:
services: cockpit dhcpv6-client http ssh
ports:
protocols:
masquerade: no
forward-ports:
source-ports:
icmp-blocks:
rich rules:
为了应用这些更改,您需要重新加载防火墙服务。
- sudo firewall-cmd –reload
您的Web服务器现在可以被外部访客访问了。
第三步 – 检查您的Web服务器
此时,您的Web服务器应该已经启动运行。
您可以使用systemctl status命令来确保服务正在运行。
- systemctl status nginx
● nginx.service – The nginx HTTP and reverse proxy server
Loaded: loaded (/usr/lib/systemd/system/nginx.service; enabled; vendor preset: disabled)
Active: active (running) since Wed 2022-09-14 21:03:46 UTC; 7min ago
Process: 18384 ExecStartPre=/usr/bin/rm -f /run/nginx.pid (code=exited, status=0/SUCCESS)
Process: 18385 ExecStartPre=/usr/sbin/nginx -t (code=exited, status=0/SUCCESS)
Process: 18386 ExecStart=/usr/sbin/nginx (code=exited, status=0/SUCCESS)
Main PID: 18387 (nginx)
Tasks: 3 (limit: 10938)
Memory: 2.8M
CPU: 43ms
CGroup: /system.slice/nginx.service
├─18387 “nginx: master process /usr/sbin/nginx”
├─18388 “nginx: worker process”
└─18389 “nginx: worker process”
通过此输出所证实,服务已成功启动。然而,最佳的测试方法是实际向Nginx请求页面。
您可以通过访问服务器的IP地址来确认Nginx软件正常运行并访问默认的Nginx首页。如果您不知道服务器的IP地址,您可以使用icanhazip.com这个工具来找到它,该工具将提供从互联网其他地方接收到的公共IP地址。
- curl -4 icanhazip.com
当您获得服务器的IP地址后,将其输入到您浏览器的地址栏中。
http://your_server_ip您应该看到默认的Nginx启动页。
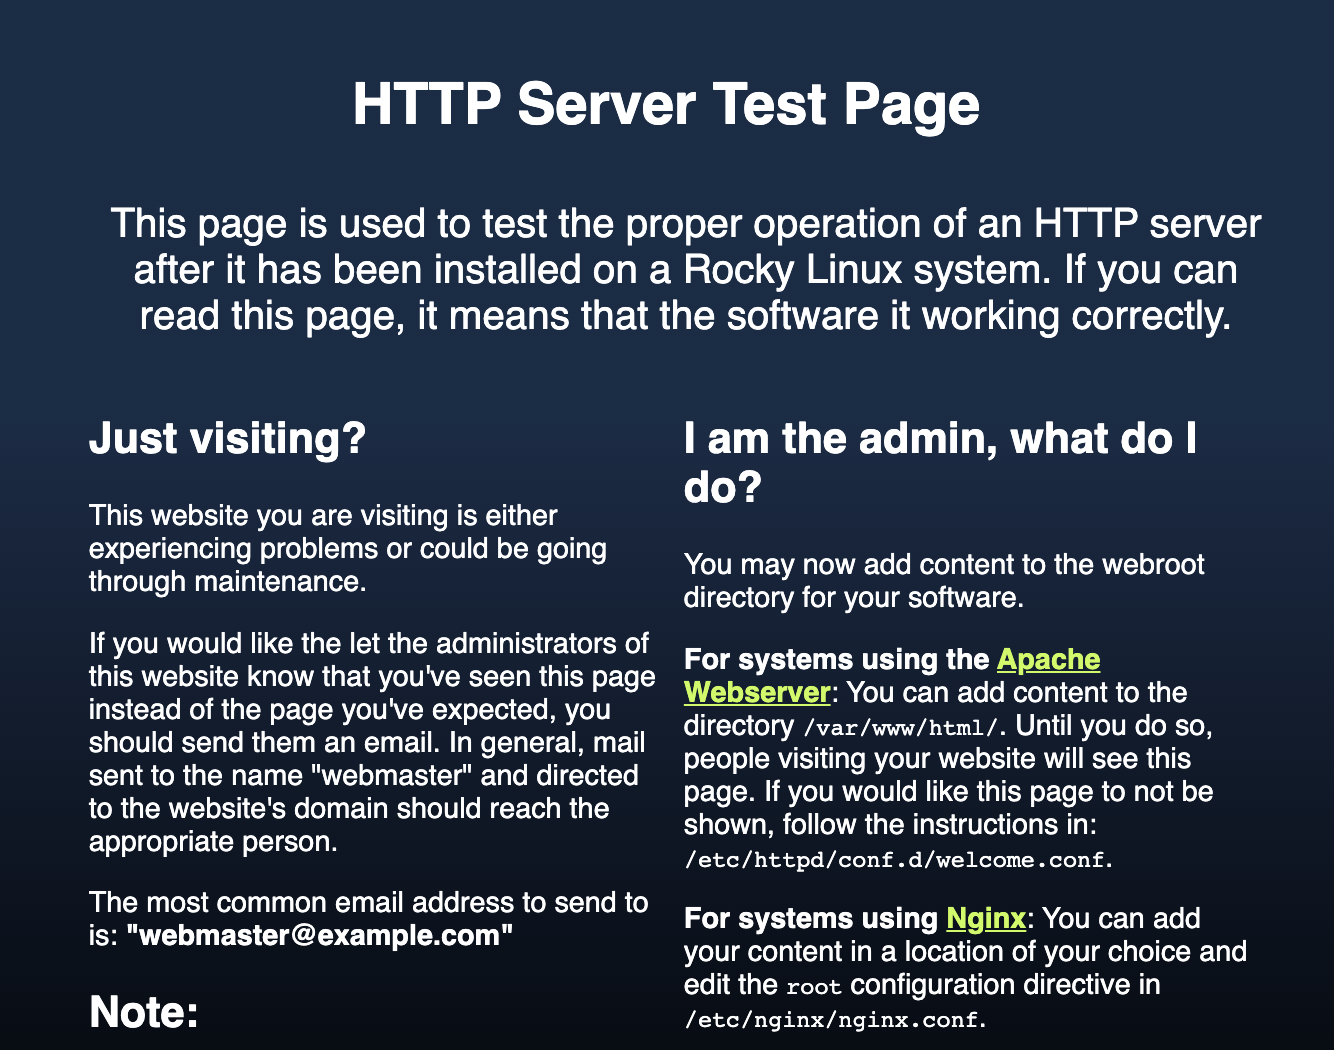
如果您在此页面上,表示您的服务器正在正常运行,并且已准备好进行管理。
步骤四 – 管理Nginx进程
管理Nginx服务:常用命令详解
您的Nginx网络服务器现已启动并运行。接下来,我们将回顾一些常用的服务管理命令,帮助您更好地控制Nginx。
停止Nginx服务
要停止Nginx网络服务器,请使用systemctl stop命令:
sudo systemctl stop nginx启动Nginx服务
当Nginx网络服务器停止后,您可以使用systemctl start命令来启动它:
sudo systemctl start nginx重启Nginx服务
要停止并随后重新启动Nginx服务,请使用systemctl restart命令:
sudo systemctl restart nginx重新加载Nginx配置
如果您只是进行了配置更改,Nginx通常可以在不中断连接的情况下重新加载。要实现这一点,请使用systemctl reload命令:
sudo systemctl reload nginx禁用Nginx开机自启
在本教程的早些时候,您已经配置了Nginx在服务器启动时自动启动。您可以使用systemctl disable命令来禁用此行为:
sudo systemctl disable nginx启用Nginx开机自启
要重新启用Nginx在开机时自动启动服务,您可以输入:
sudo systemctl enable nginx第五步:了解重要的Nginx文件和目录
既然您已经知道如何管理Nginx服务,接下来花几分钟时间熟悉一些重要的目录和文件将非常有益。
内容目录
/usr/share/nginx/html: 实际的网页内容存放目录。默认情况下,这里只包含您之前看到的Nginx默认页面。您可以通过修改Nginx配置文件来更改此目录。
服务器配置
/etc/nginx: Nginx的配置目录。所有Nginx的配置文件都位于此处。/etc/nginx/nginx.conf: Nginx的主配置文件。您可以修改此文件来更改Nginx的全局配置。/etc/nginx/conf.d/: 此目录包含服务器块(server block)配置文件,您可以在其中定义Nginx托管的网站。一种典型的方法是为每个网站创建一个单独的文件,并以网站的域名命名,例如your_domain.conf。
服务器日志
/var/log/nginx/access.log: 除非Nginx另有配置,否则对您的Web服务器的每个请求都会记录在此日志文件中。/var/log/nginx/error.log: 任何Nginx错误都将记录在此日志中。
现在,您应该已经准备好配置网站以托管一个或多个域名了。
第六步:设置服务器块(可选)
在使用Nginx网络服务器时,可以使用服务器块(类似于Apache的虚拟主机)来组织配置细节,并从单个服务器托管多个域。在Rocky Linux 9上,服务器块在位于/etc/nginx/conf.d的.conf文件中定义。我们将设置一个名为your_domain的域,但您应该用自己的域名替换它。
默认情况下,Rocky Linux 9上的Nginx配置为从目录/usr/share/nginx/html提供文档。虽然对于单个站点来说这很有效,但是如果您要托管多个站点,这将变得难以管理。相对于修改/usr/share/nginx/html,您将在/var/www内创建一个目录结构,以用于your_domain网站,同时保留/usr/share/nginx/html作为默认目录,在没有其他站点匹配客户端请求时提供服务。
按照以下方式创建您的域名目录,使用-p标志创建必要的父目录:
- sudo mkdir -p /var/www/your_domain/html
接下来,使用$USER环境变量将目录的所有权分配给当前系统用户。
- sudo chown -R $USER:$USER /var/www/your_domain/html
现在您将创建一个示例index.html页面来测试服务器块配置。Rocky Linux 9附带的默认文本编辑器是vi。vi是一个非常强大的文本编辑器,但对于缺乏经验的用户来说可能有些晦涩。您可能希望安装一个更用户友好的编辑器,比如nano,以便在Rocky Linux 9服务器上编辑配置文件。
- sudo dnf install nano
接下来,使用nano或者您喜欢的编辑器创建一个样本index.html页面。
- nano /var/www/your_domain/html/index.html
在内部,添加以下示例HTML代码:
文件路径:/var/www/your_domain/html/index.html
<html>
    <head>
        <title>欢迎访问 your_domain</title>
    </head>
    <body>
        <h1>成功!您的Nginx服务器已为 <em>your_domain</em> 成功配置。</h1>
<p>这是一个示例页面。</p>
    </body>
</html>
如果您完成了,保存并关闭文件。如果您正在使用nano,可以通过按下CTRL + X保存并退出,然后在提示时按Y,最后按Enter键。
为了使Nginx提供此内容,您需要创建一个服务器块,其中的指令指向您的自定义网站根目录。在/etc/nginx/conf.d/your_domain.conf上创建一个新的服务器块。
- sudo nano /etc/nginx/conf.d/your_domain.conf
粘贴以下配置块:
您的域名配置文件位于/etc/nginx/conf.d/your_domain.conf。
server {
        listen 80;
        listen [::]:80;

        root /var/www/your_domain/html;
        index index.html index.htm index.nginx-debian.html;

        server_name your_domain www.your_domain;

        location / {
                try_files $uri $uri/ =404;
        }
}
注意我们已将根配置更新为新的目录,并将服务器名称更改为我们的域名。保存并关闭文件。
现在已经启用并配置了两个服务器块,根据它们的监听和服务器名称指令来响应请求(您可以在这里阅读有关Nginx如何处理这些指令的更多信息)。
your_domain: 将响应your_domain和www.your_domain的请求。default: 将响应端口80上不匹配其他两个块的任何请求。
接下来,使用 nginx -t 命令来测试确保您的所有Nginx文件中没有语法错误。
- sudo nginx -t
如果没有任何问题,请重新启动Nginx以启用您的更改。
- sudo systemctl restart nginx
在您可以从浏览器测试更改之前,您需要更新服务器的SELinux安全上下文,以使Nginx被允许从/var/www/your_domain目录提供内容。
此chcon上下文更新将允许您的自定义文档根目录作为HTTP内容进行提供。
- chcon -vR system_u:object_r:httpd_sys_content_t:s0 /var/www/your_domain/
现在Nginx应该正在为您的域名提供服务。您可以通过导航到http://your_domain来测试。在那里,您应该能够看到类似以下的内容:

结论
现在您已经成功安装了Nginx网络服务器,接下来您将拥有多种选择来提供丰富多样的内容,并可以利用各种技术来创建更引人入胜的用户体验。
为了进一步增强您网站的安全性,并为您的域名配置HTTPS加密,建议您使用Let’s Encrypt提供的免费SSL证书。有关如何在Rocky Linux 9上使用Let’s Encrypt来保护Nginx的详细步骤,请参阅相关指南。

